
Last updated October 30, 2026
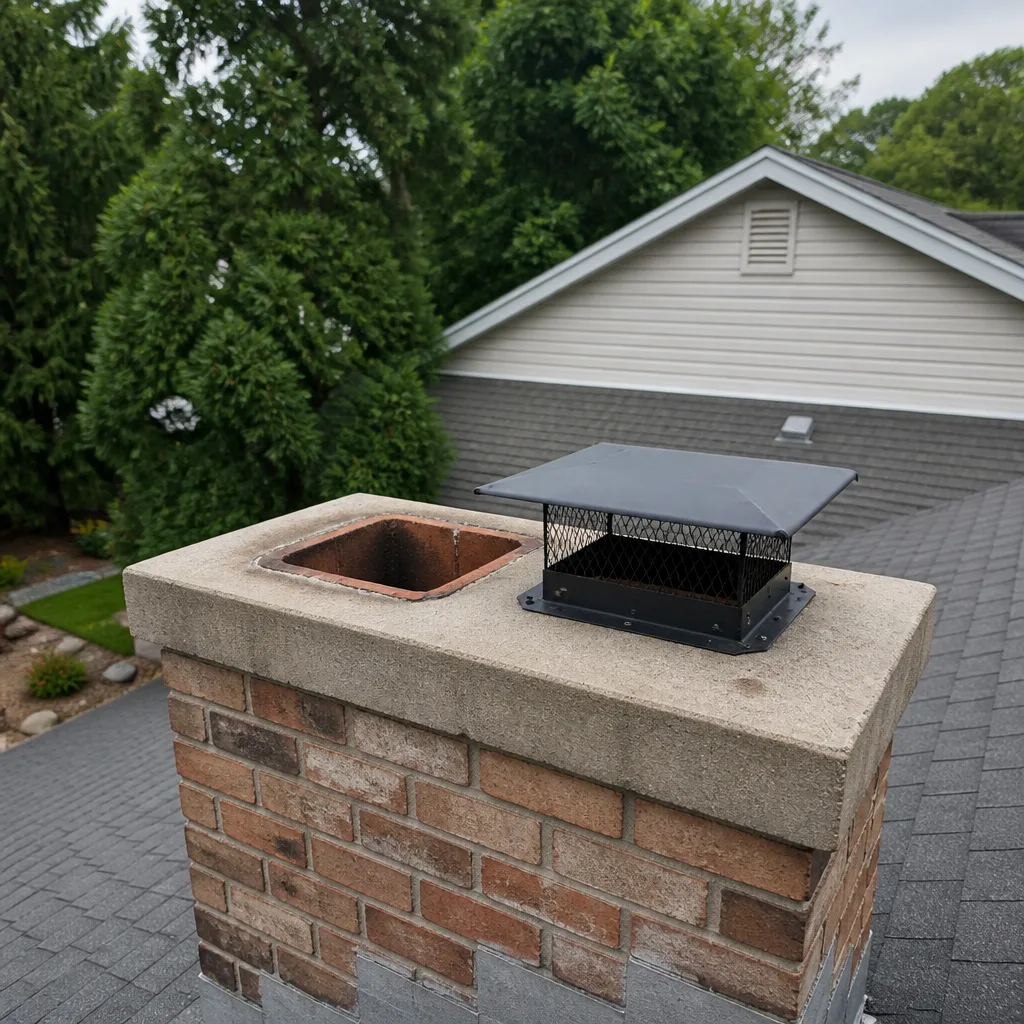 Sweep & inspection
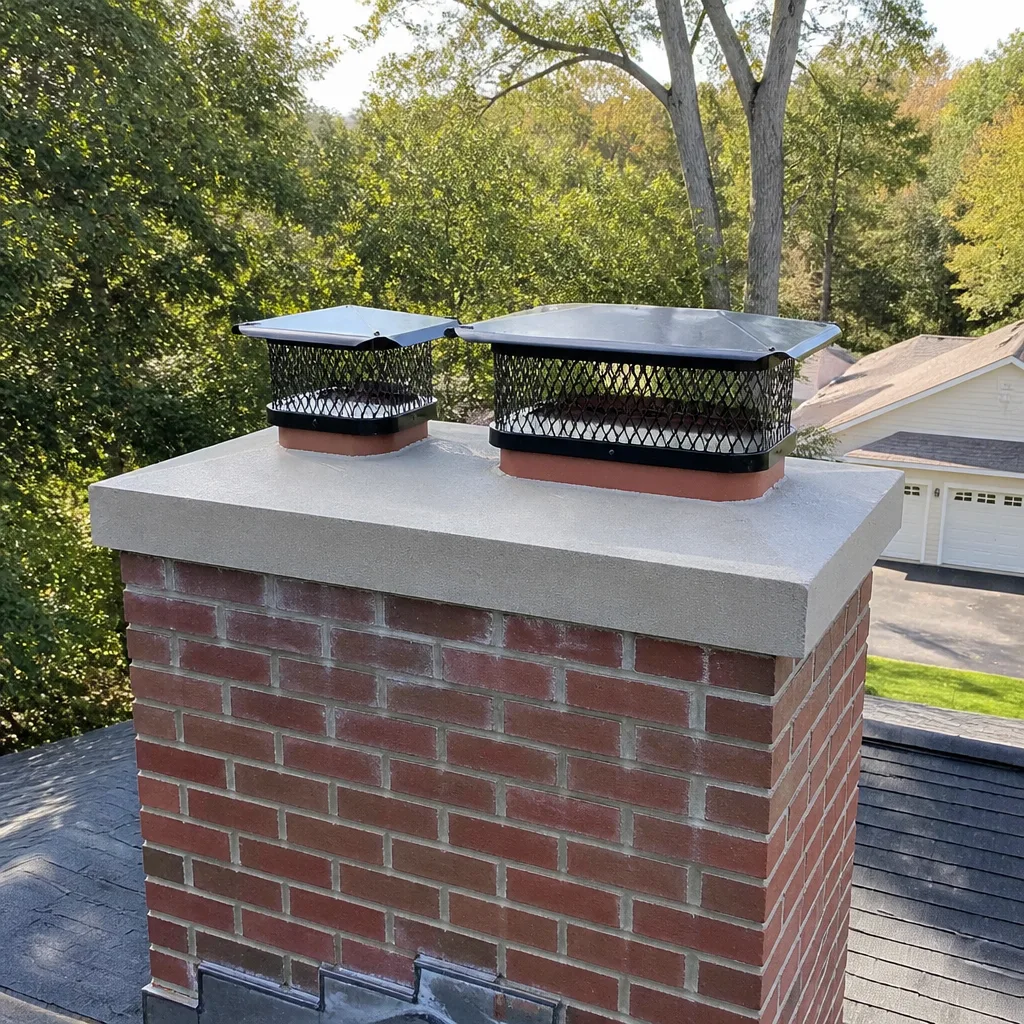 Caps & crowns
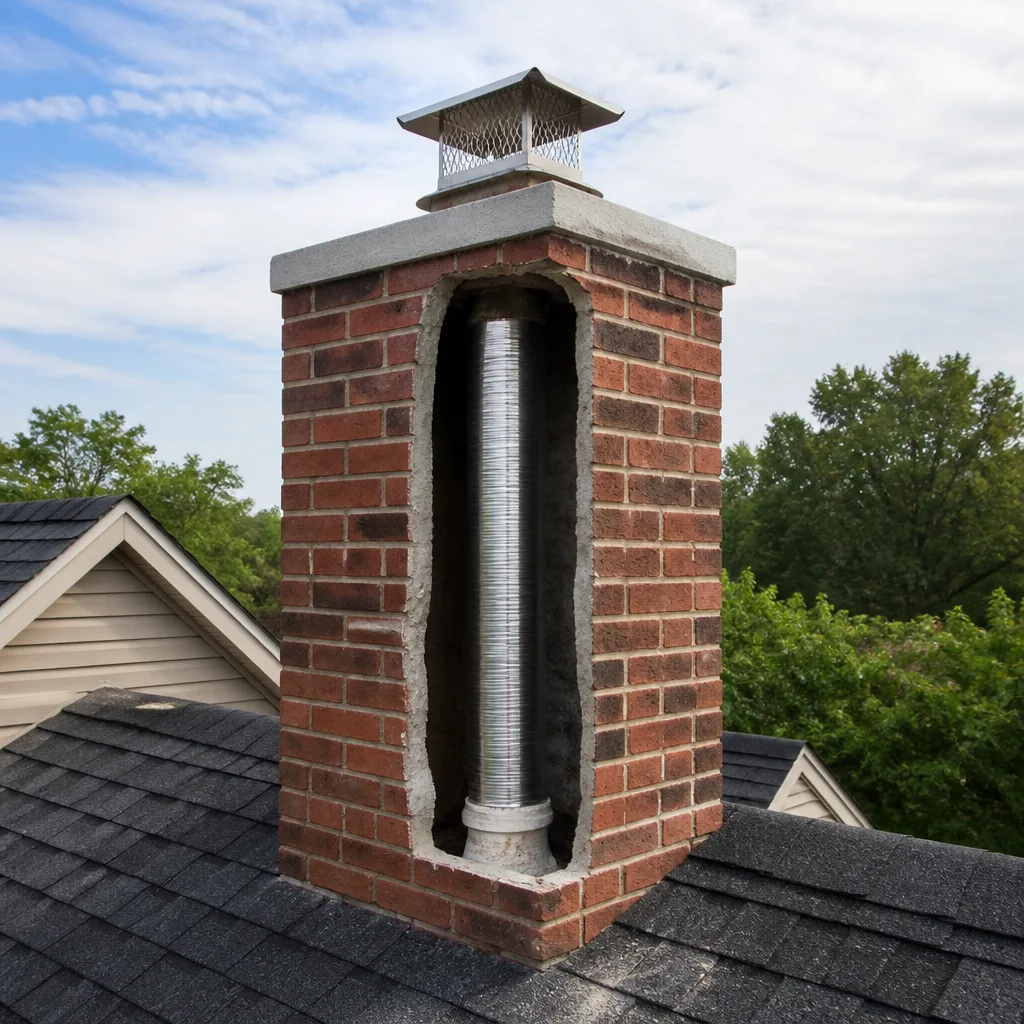 Flue relining
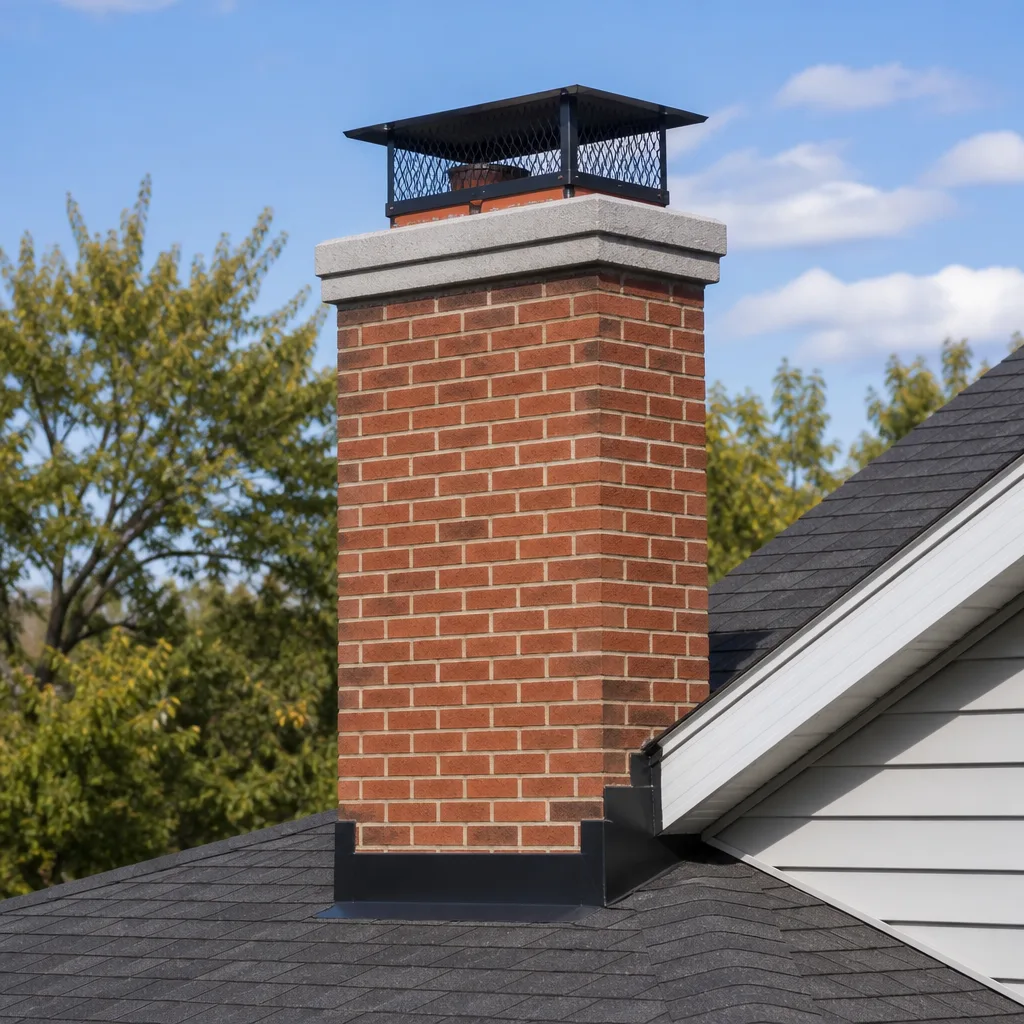 Masonry repair
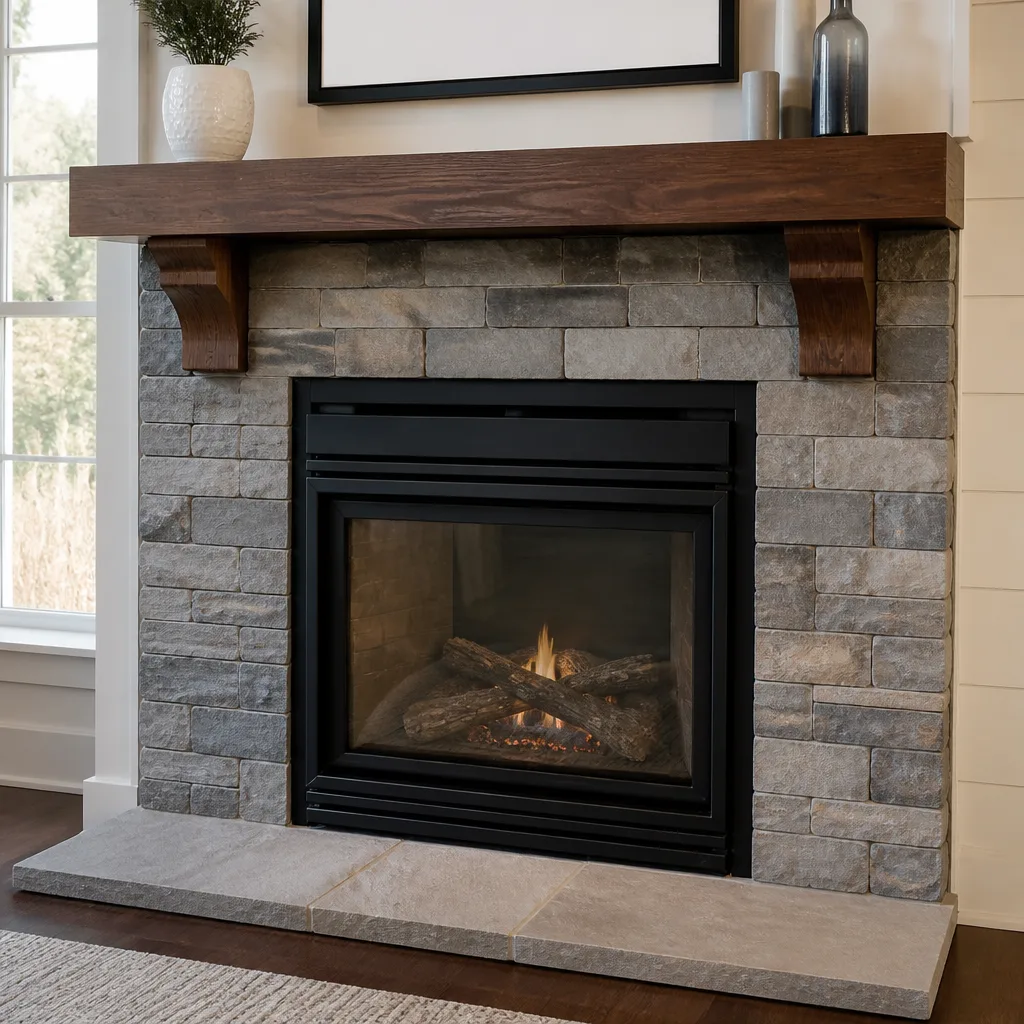 Gas fireplace service
Level 1 sweep and inspection to the NFPA 211 annual standard - flue, crown, cap, and flashing checked and photographed
Chimney sweep logs do not sweep chimneys. They loosen some creosote - which then falls where a brush and vacuum still have to collect it.
Chimney Sweep Maintenance Checklist for Near North Side Homeowners
The smoke chamber is the most overlooked cavity in any Near North Side chimney. It sits directly above the firebox, hidden from sight, and it takes more direct heat than nearly any other component. When we inspect chimneys in Lincoln Park, Old Town, and the Gold Coast, the smoke chamber is routinely where we find spalling brick, cracked mortar, and creosote buildup that has gone undetected for years. This guide gives you a structured, Chimney Sweep-grade checklist you can use between professional visits. You’ll learn what to check from the ground, what requires a camera, and which findings mean the fireplace gets shut down until a pro takes a look.
Quick Answer
A chimney maintenance checklist for a Near North Side homeowner covers six components: firebox, damper, smoke shelf, smoke chamber, flue liner, and cap. You can safely assess the firebox, damper, and cap from ground level, while the smoke shelf, smoke chamber, and liner require a professional camera inspection. Logging dated observations between sweeps gives your chimney professional a condition history instead of a blank slate; see our more guides & resources for ongoing maintenance tips.
Styles & brands we work with
Table of Contents
- The Firebox: What Good and Compromised Look Like
- The Damper: The Gatekeeper You Can Actually See
- The Smoke Shelf and Smoke Chamber: Why They Matter
- The Flue Liner: Your Chimney’s Spine
- The Chimney Cap: Your First Line of Defense
- Seasonal Trigger Points for Near North Side Chimneys
- How to Log and Date Your Observations
- Three Findings That Stop Fireplace Use Immediately
The Firebox: What Good and Compromised Look Like
The firebox is the masonry chamber where your fire actually burns. In Near North Side homes, fireboxes are typically brick or refractory panel construction, and they take direct flame contact every time you light a fire. A healthy firebox has intact mortar joints, no missing brick faces, and no white staining (efflorescence) that signals water penetration. Hairline cracks in refractory panels are common as fireboxes age, but cracks wider than a quarter inch deserve attention.
What to Check From Ground Level
- Mortar joints: Run your finger (when cold) along the joints between bricks. Crumbling or sandy mortar that falls away with light pressure means the joint has deteriorated. This is repairable with professional-grade materials, but it does not self-correct.
- Brick faces: Look for bricks that have popped, flaked, or spalled. Spalling leaves shallow bowl-shaped divots and signals moisture absorption followed by heat expansion.
- Refractory panels: If your firebox has prefabricated panels, check for cracks that go all the way through. Surface crazing is cosmetic. A panel you can flex or shift by hand is not.
- Ash level: Ash buildup deeper than two inches changes airflow and pushes heat toward the back wall. Shovel it out before it becomes a firebox insulator working against you.
In our experience across Near North Side, fireboxes in vintage walk-ups tend to show mortar degradation before brick failure. The mortar used in early 20th century construction was softer than modern mixes. If you live in a pre-war building near Clark Street or Wells Street, check your mortar joints twice per season.
One important note: never start a fire in a firebox with wet ash in it. The steam from damp ash can push creosote residue deeper into the masonry. Let the firebox dry completely after cleaning before you light anything.
The Damper: The Gatekeeper You Can Actually See
The damper is the metal door at the top of your firebox that opens to let smoke exit and closes to keep heated room air from escaping up the flue when the fireplace is idle. It is the one component most Near North Side homeowners can evaluate without any special equipment.
Ground-Level Damper Assessment
- With the fireplace completely cold, open the damper fully and shine a flashlight up into the flue. You should see the metal throat and, above it, the beginning of the smoke chamber.
- Check the damper plate for rust, warping, or pitting. Cast iron dampers eventually corrode, especially in chimneys without a cap. If the plate looks like it’s flaking into layers, it’s nearing replacement.
- Operate the handle slowly. The damper should open and close without grinding or sticking. A damper that won’t move at all usually means rust has seized the pivot, or creosote has fused the plate to its frame.
- Feel for cold air intrusion when the damper is closed. Stand near the firebox with the back of your hand. If you feel a draft, the damper isn’t sealing. You’re paying to heat the alley behind your building.
A damper that doesn’t seal fully is more than a comfort issue. It’s a chimney performance issue. An open or leaky damper changes draft behavior. In the winter, it lets warm interior air rise into the flue, which can interact with residual creosote in ways you don’t want. It also gives a direct path for humidity from outside air to reach your smoke shelf.
If your damper is warped or rusted beyond function, a top-sealing damper installed at the chimney crown is a legitimate upgrade. We’ve installed these on Near North Side chimneys where the original throat damper was too far gone to repair without ripping out masonry.
The Smoke Shelf and Smoke Chamber: Why They Matter
The smoke shelf sits just above the damper. Its job is to collect falling debris and prevent downdrafts from pushing smoke back into the room. The smoke chamber starts above the shelf and slopes inward to the base of the flue liner. Together, these two components are the transition zone between your firebox and the flue.
Here is the problem: you cannot see either of these from ground level. Not with a mirror, not with a flashlight, not by craning your neck. The angled geometry of the smoke chamber hides the very surfaces where creosote accumulates most heavily and where heat stress does the most cumulative damage.
What a Professional Camera Inspection Looks At
- Smoke shelf debris depth: The shelf should be relatively clear. A deep pile of creosote flakes, bird nesting material, or mortar chips means the shelf is doing its job too well, and everything it caught is now sitting there catching sparks.
- Smoke chamber walls: In older masonry chimneys, the smoke chamber is often parged (coated) with a rough mortar called corbeling. Over decades of thermal cycling, this parging cracks and falls away. Exposed brick behind it absorbs creosote like a sponge.
- Creosote stage: Stage three creosote is hardened, glossy, and resembles tar. It is concentrated fuel. In the smoke chamber, stage three creosote is a chimney fire waiting for the right conditions.
This is where the “we find it, we fix it” difference matters. Most sweep companies will tell you the smoke chamber is dirty and move on. A proper evaluation goes further: is the parging intact? Is the creosote stage a cleaning issue or a structural one? Can the chamber support the draft your fireplace needs?
For Near North Side homeowners, the age of your building matters here. Homes built before the 1950s often have unlined smoke chambers that have never seen a proper parge coat. If your building dates to the 1880s or 1890s in the Old Town Triangle, assume your smoke chamber deserves a camera inspection on the first visit.
The Flue Liner: Your Chimney’s Spine
Your flue liner is the vertical passageway that carries smoke and combustion gases from the smoke chamber to the chimney crown. In modern construction, this is usually a clay tile liner or a stainless steel liner system. Near North Side chimneys run the full spectrum: original clay tile in pre-war homes, stainless retrofit liners in many condos, and occasionally unlined masonry flues in buildings that predate modern codes.
Why the Liner Is Not Just a Pipe
The liner does three things. It contains the smoke. It insulates the masonry around it from direct heat. And it protects the structure from the corrosive byproducts of combustion. When a liner cracks, heat and gases reach the brick and mortar around it. That’s when small problems become structural problems.
Clay tile liners crack from thermal shock and freeze-thaw cycling. Stainless liners corrode from acidic condensate, especially in high-efficiency gas appliances venting through a masonry flue. Unlined flues erode from the inside out.
We use DuraFlex liners when a Near North Side chimney needs a stainless retrofit. It’s the same product line specified by restoration contractors who work on landmark buildings, and it’s what we recommend when the existing clay tile has failed beyond spot repair. The alternative, resurfacing with HeatShield, works for liners with minor cracking where full replacement isn’t warranted. The choice comes down to what the camera shows. Your flue is a system, not just a pipe, and the liner decision has to match the actual condition, not a default recommendation.
For a homeowner, liner condition isn’t a DIY check. If you have a clay tile liner and you’ve been burning fires in the same Near North Side fireplace for 15 years without an inspection, that’s your cue to schedule one. We’ve seen liners that looked fine from the top that were separated at the second tile joint down.
The Chimney Cap: Your First Line of Defense
The chimney cap is the metal or masonry cover at the top of the flue. Its job is simple: keep water, animals, and debris out. Its failure mode is also simple: rust, missing mesh, or a cap that’s gone entirely.
Water is the enemy of every chimney. In Near North Side, the freeze-thaw cycle between November and March is relentless. Water enters a small crack in the crown or cap, freezes, expands by roughly 9%, and widens the crack. Each season, the damage compounds. A missing or damaged cap accelerates this process dramatically.
What to Look For Without Climbing the Roof
- Visual check from the sidewalk or alley: Binoculars work. Look at the top of your chimney. The cap should be flat and centered. If it’s tilted, it’s coming loose.
- Mesh condition: If your cap has mesh side panels (and it should), look for holes. A gap the size of a golf ball is enough for a squirrel, a starling, or a chimney swift.
- Rust streaks: Brown staining on the masonry below the cap means the cap itself is rusting and transferring residue downward. Galvanized caps eventually fail. Stainless caps from Olympia Chimney survive much longer in a lakeshore climate.
- After a storm: Walk outside after a hard rain or heavy wind. If you see mortar chips or cap fragments on the ground near the chimney base, that’s evidence the top end of your chimney took damage.
A cap that’s missing entirely means your flue is open to every rain event and every animal in the neighborhood. In Near North Side, raccoons are common in alleys behind three-flats and graystones. A raccoon in a chimney is not a fun discovery at 2 a.m.
Seasonal Trigger Points for Near North Side Chimneys
The Lake Michigan climate shapes how chimneys degrade in Chicago’s Near North Side. You deal with humidity from the lake, hard freezes in January and February, sudden warm-ups in late winter, and condensation cycles that run all season.
November to March: The Freeze-Thaw Assault
Water sits in hairline cracks in the crown, cap flashing, and upper mortar joints. It freezes overnight, expands, and pushes the fracture wider. Thaw during the day releases the pressure, but the crack is now larger. The next freeze does more damage. This is why chimneys in Near North Side neighborhoods like River North and Streeterville deteriorate faster than chimneys in drier, milder climates.
Your job during this window: after any extended deep freeze or ice storm, do a binocular check of your chimney cap and crown. Look for fresh cracks, displaced masonry, or anything that changed since your last check.
What to do with what you find: log it. Date it. Note the conditions. A new crack in February that’s still there in April tells a chimney professional something specific about how water moved through that season.
April to June: The Inspection Window
Spring is the right time for a professional sweep and inspection in Near North Side. The heating season is over. The flue has done its winter work. Any damage from freeze-thaw has fully materialized. And you have the entire summer to schedule repairs before the next burn season.
If you only do one chimney-related thing this year, doing it in April or May is the move.
September to October: The Pre-Burn Check
Before the first fire of the season, clear the firebox completely and look for anything that changed over the summer. Check the damper. Check the cap from the ground. If you had a spring inspection, compare what you see now against the notes from that report.
If you did not have a spring inspection, do not just light a fire and hope. Book the sweep. The Chimney Sweep in Near North Side you choose should be doing more than running a brush up the flue.
How to Log and Date Your Observations
A maintenance checklist only works if it creates a record. Without dates and descriptions, each season starts from zero. With a simple log, you build a condition history that tells your chimney professional whether a crack is new, stable, or actively growing.
Start a Simple Chimney Log
- Use a notebook or a note on your phone. It doesn’t need to be elaborate. A running dated list is enough.
- Log the date, the observation, and the location. For example: “Feb 12 – new vertical crack in firebox rear wall, left side, about 4 inches long.” Not: “firebox looks worse.”
- Photograph everything. Your phone camera is the best chimney maintenance tool you own. Same angle, same lighting, every time. Photos beat descriptions when a pro needs to see what you saw.
- Note the conditions around the observation. Was it after a hard freeze? After a heavy rain? After a long stretch of daily fires? Conditions are data.
- Bring the log to your inspection. A chimney professional who reads your log is working with a history, not guessing from a single snapshot.
This practice answers the biggest frustration homeowners have: being told a problem exists with no way to verify it independently. When you log your own observations, the professional’s camera findings line up against your own record. You see the same crack. You can make an informed call.
Three Findings That Stop Fireplace Use Immediately
Some checklist findings are “schedule a sweep when convenient.” These three are not. If you observe any of the following, stop using the fireplace and make a same-week call.
1. Cracked, shifted, or missing firebox panels
If a refractory panel has a through-crack or has shifted out of position, the firebox’s heat protection is compromised. Continued fires expose the structure behind the panel to direct flame. This is a stop-use condition until a professional evaluates it.
2. A flue tile or liner fragment in the firebox
If you find a chunk of clay tile or a piece of metal that clearly fell from above, your liner is actively failing. The flue is shedding material. Continuing to burn risks exhausting smoke and gases into the chimney cavity rather than up and out. This is how chimney fires get started and how carbon monoxide ends up where it shouldn’t be.
3. Any sign of water entering the firebox
Wet ash, water staining on the back wall, dampness you can feel, or drips during rain all mean water is bypassing your cap, crown, or flashing. Water plus heat equals steam, and steam inside masonry equals internal pressure. This is a repair situation, not a cleaning situation.
These are the conditions where experience matters. A company that cleans and leaves isn’t what you need. You need a Chimney Repair in Near North Side that can diagnose and fix the problem in the same service relationship. We find it, we fix it.
Common Mistakes to Avoid
- Skipping the smoke chamber check because you can’t see it. The fact that it’s hidden is exactly why it needs the camera. In Near North Side homes, a smoke chamber that has never been camera-inspected is a question mark, not a pass.
- Treating the annual sweep as the only maintenance event. A yearly cleaning is a point-in-time snapshot. Between-clean inspections are what catch slow-developing problems early.
- Using a gas fireplace log set in a wood-burning firebox without conversion work. Gas burns cooler but vents differently. If your firebox wasn’t converted by a professional, you may be creating condensation problems inside the flue.
- Climbing on the roof to inspect the cap yourself. Steep roofs, slick surfaces, and Near North Side wind don’t mix with a ladder and a phone camera. Ground-level binocular checks are the safe play.
- Painting over water stains inside the firebox. The stain is data. Paint covers the data. If you see staining, leave it visible until a professional has seen it and diagnosed the source.
- Burning unseasoned wood because it’s what’s available. The moisture in green wood hits the flue as steam and creosote. Near North Side alleys are not lumber yards. Buy seasoned hardwood or leave the fireplace cold.
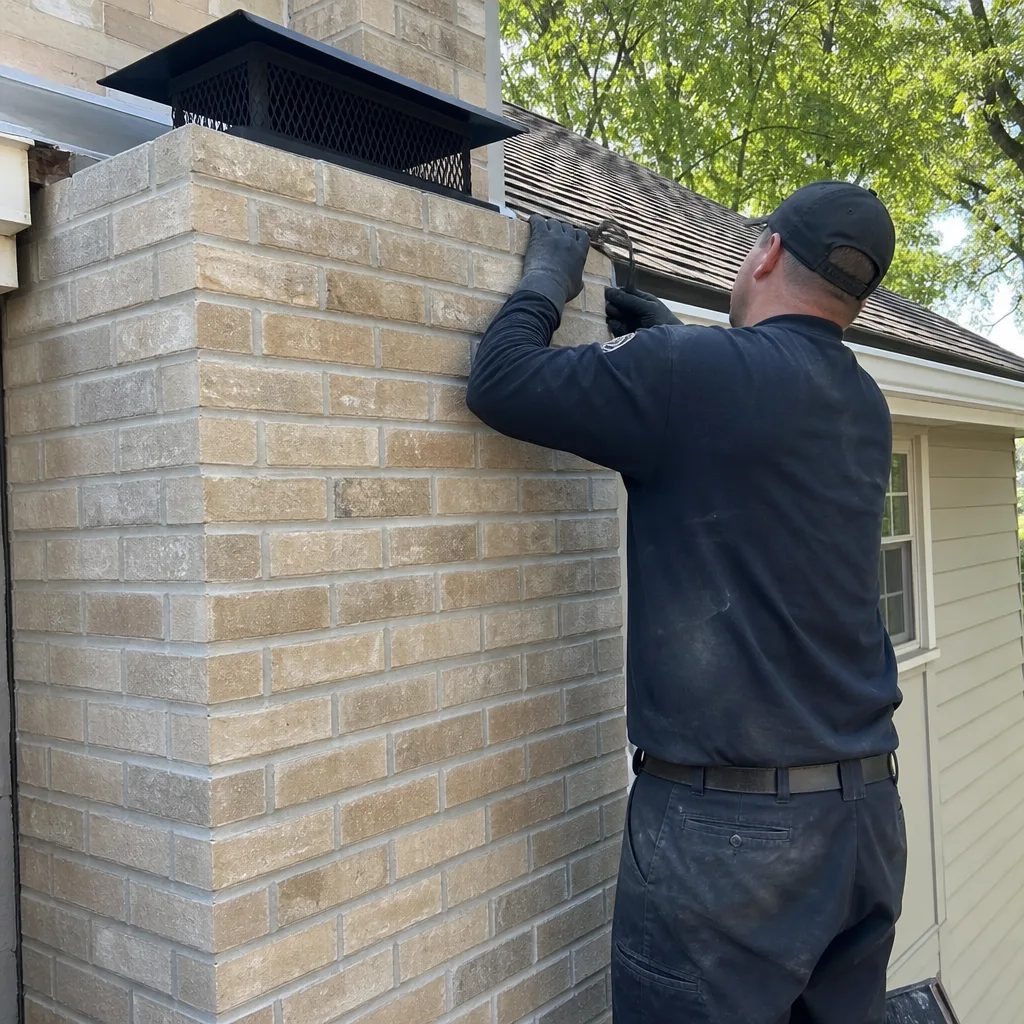
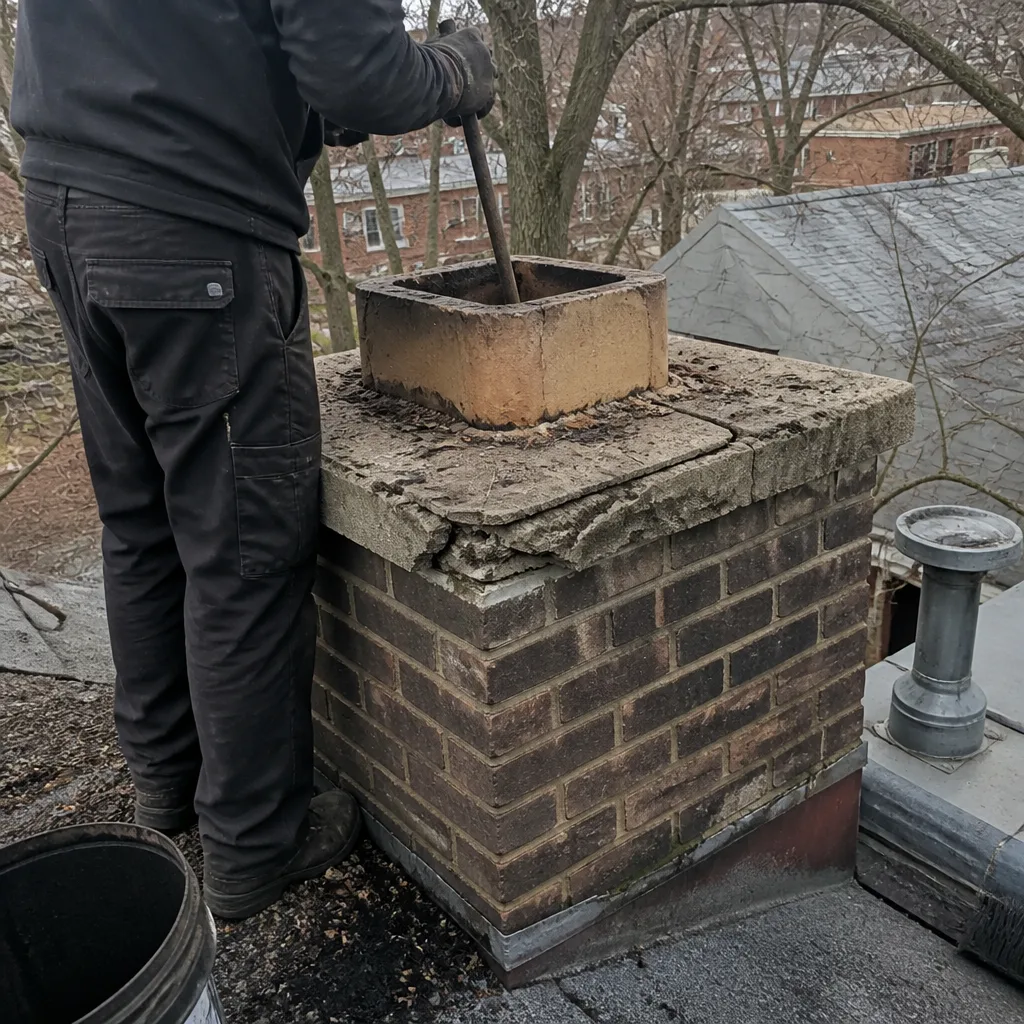
See the difference
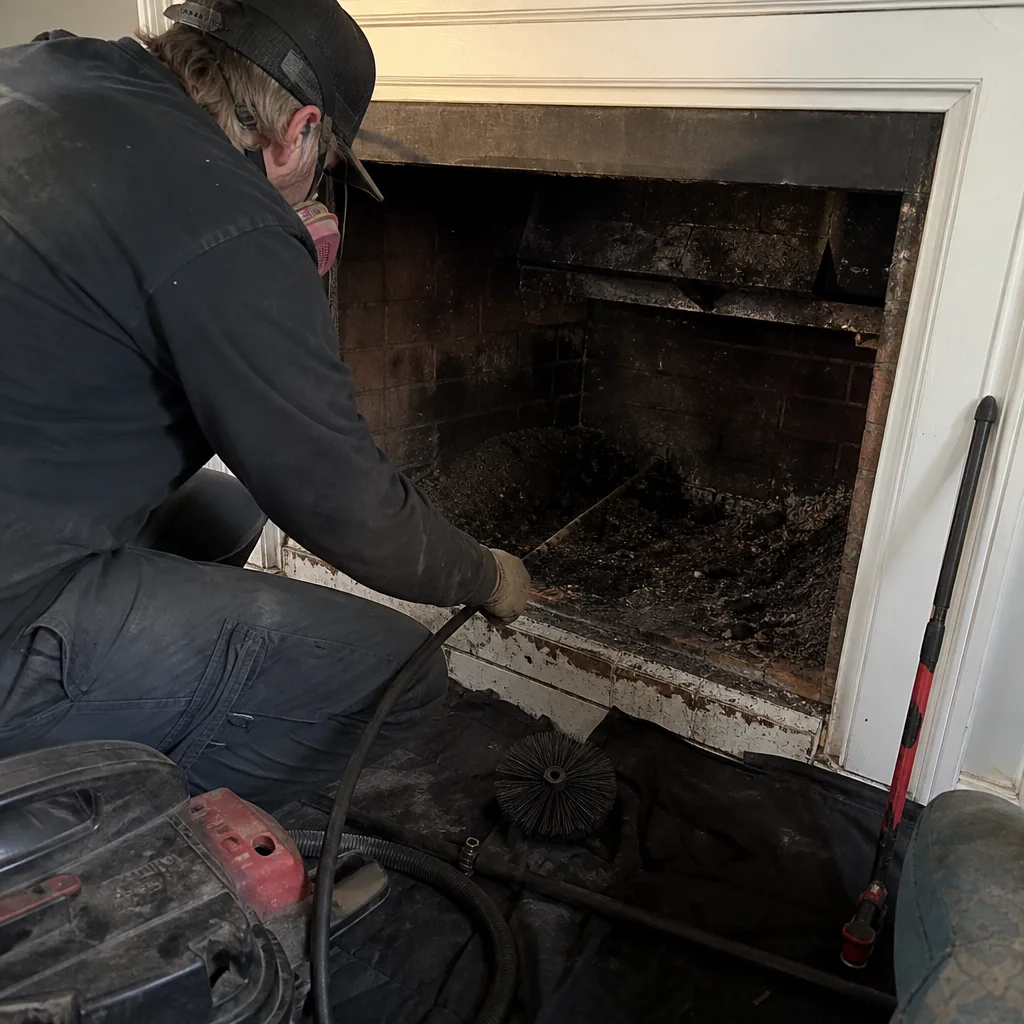 Before
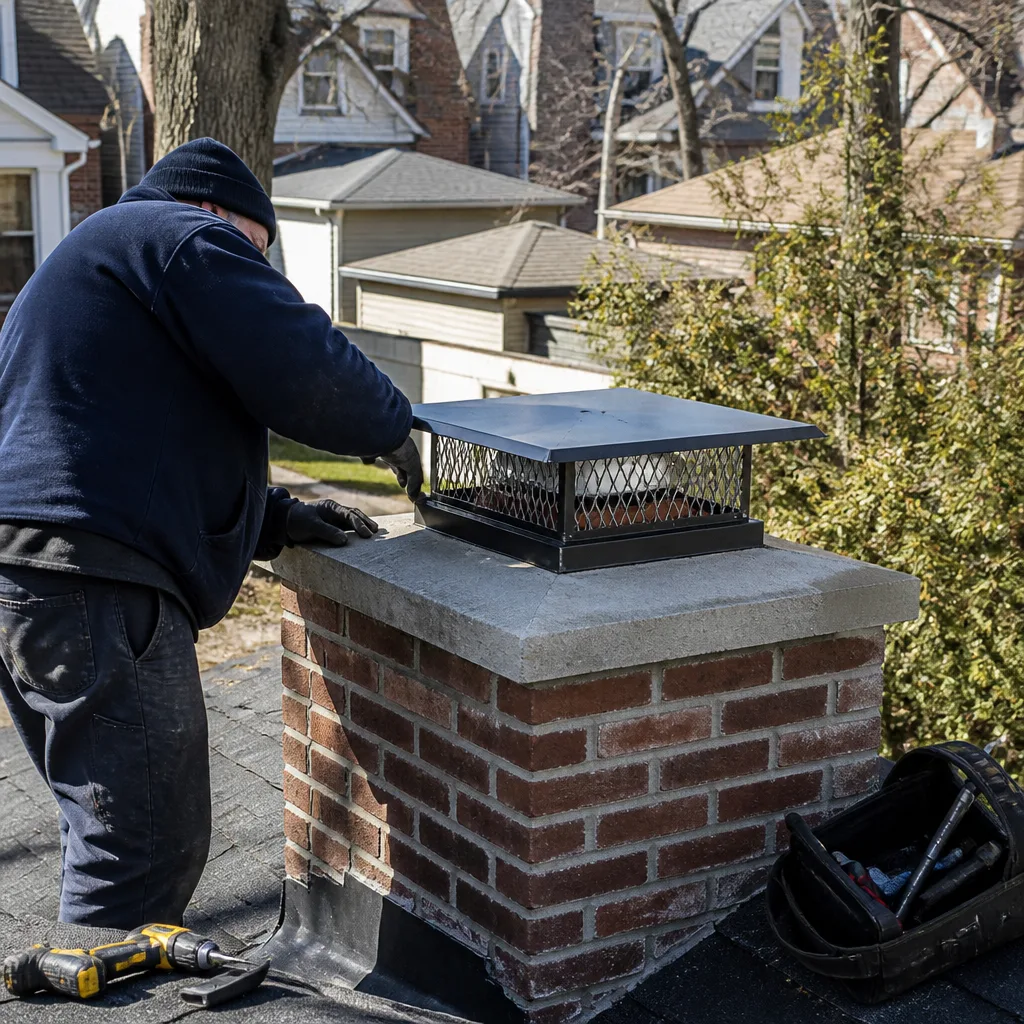 After
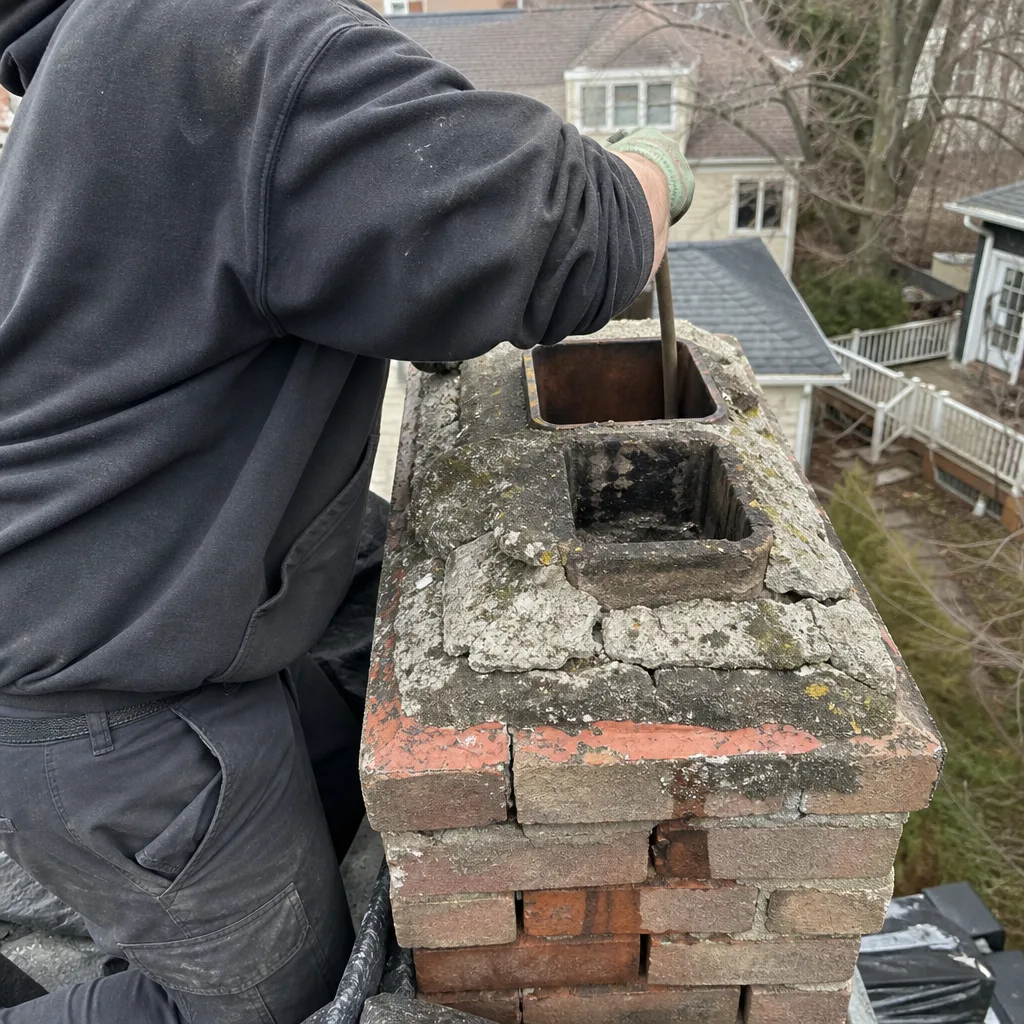 Before
 After
 Before
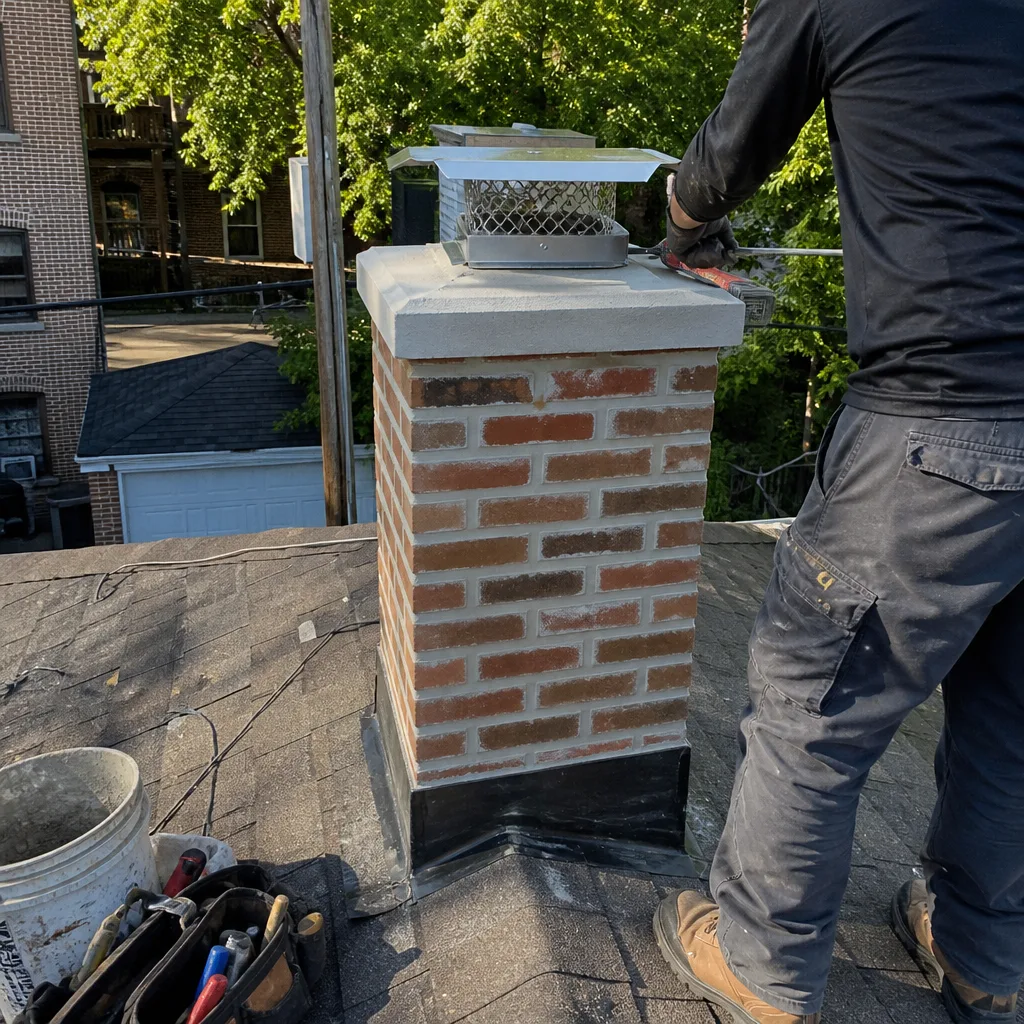 After
When to Call a Professional
Call a professional when your checklist turns up something you can’t explain: a new crack, a damp firebox, a damper that won’t move, a cap that’s gone missing, or fragments in the firebox that didn’t come from your last fire. Call when you’ve logged observations over two seasons and want a professional interpretation of what you’re seeing. And call when you inherit a chimney: if you buy a Near North Side home with a fireplace and have no records of prior service, the previous owner just handed you an unknown. A camera inspection converts that unknown into a baseline you can work from.
Sandstone Chimney Sweep offers free estimates in Near North Side. Call (833) 589-7835 to schedule a sweep, an inspection, or a camera evaluation of your smoke chamber and liner.
Frequently Asked Questions
Every 40 to 50 fires, or once per year, whichever comes first. For most Near North Side homeowners who burn weekends through the winter, that means one annual sweep in spring or early fall is the right cadence.
Yes. You can inspect the firebox, damper, and cap from ground level. The smoke shelf, smoke chamber, and flue liner require a camera that a chimney professional operates. Your ground-level checks are a supplement to professional inspection, not a replacement.
Expect to pay between $180 and $325 for a standard sweep and visual inspection in Near North Side, with camera inspections often adding $50 to $125 depending on the scope. Pricing varies by flue condition, roof access, and whether a dryer vent cleaning is bundled with the visit.
Yes. The components that fail most often, the smoke chamber and the liner, are completely invisible from outside and from ground level. A chimney that looks fine from the sidewalk can have a separated clay tile at the second joint and stage three creosote in the smoke chamber. Call (833) 589-7835 for a quote. Estimates are free.
Creosote continues to accumulate, which concentrates fuel in the flue. Moisture continues to work on mortar joints through freeze-thaw cycling. Small problems become structural problems. The eventual repair cost multiplies. The fire risk compounds. Skipping maintenance saves a few hundred dollars now and costs thousands later.
Yes. Dryer Vent Cleaning in Near North Side is one of our core services. Lint-clogged dryer vents and creosote-laden chimneys are two of the most common household fire hazards. Two fire hazards, one visit.
The Bottom Line
A maintenance checklist is not a reminder to call someone once a year. It’s a condition-tracking document that tells you whether your chimney is stable or degrading between visits. Work the checklist from the firebox upward. Log your observations with dates and photos. Watch the freeze-thaw cycle between November and March. Learn the three stop-use findings. When the checklist turns up something you can’t interpret, that’s what professionals are for. Near North Side homeowners have real chimneys, real freeze cycles, and real fire risk. The checklist keeps you honest between inspections.
If you own a fireplace in Near North Side and haven’t had a camera inspection, Sandstone Chimney Sweep home can get you scheduled. Call (833) 589-7835 for a free estimate. Your flue is a system, not just a pipe.
Written by the team at Sandstone Chimney Sweep, serving Near North Side since 2017.