
Last updated October 30, 2026
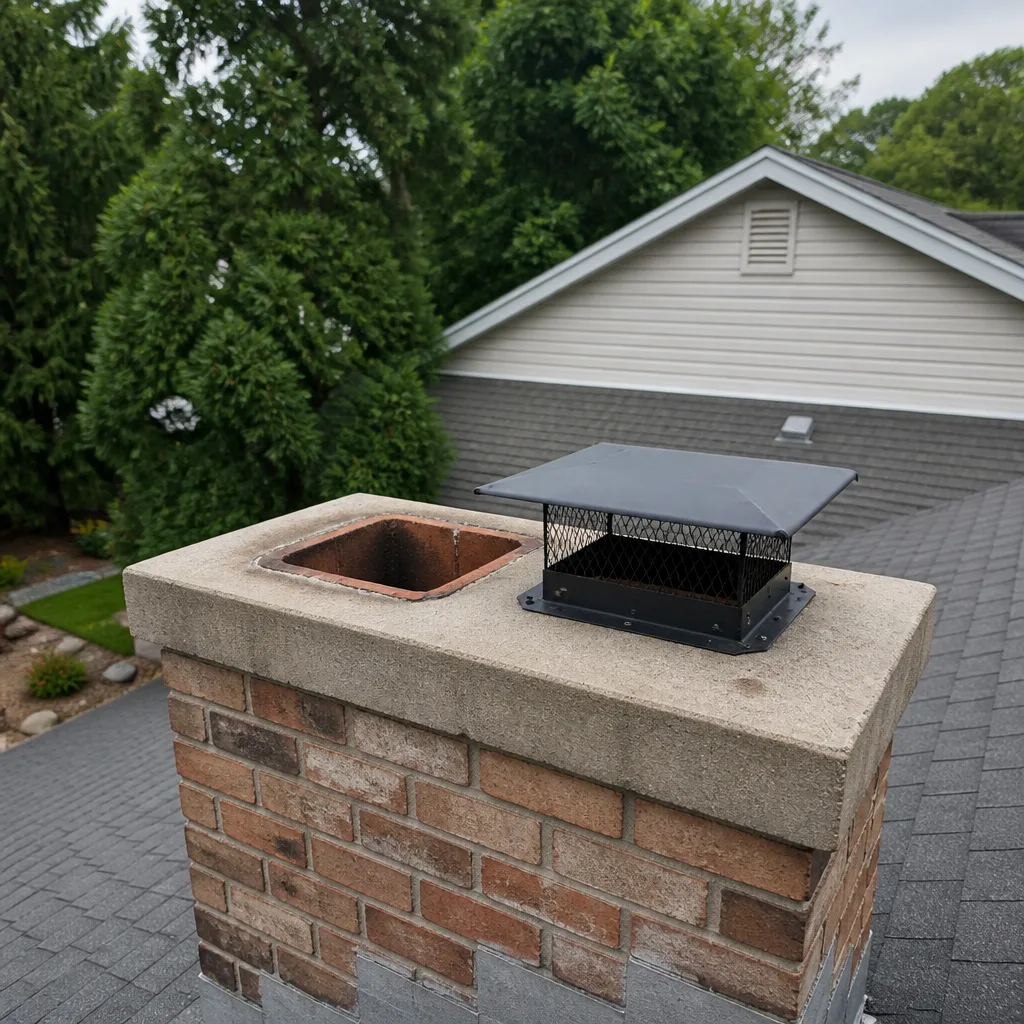 Sweep & inspection
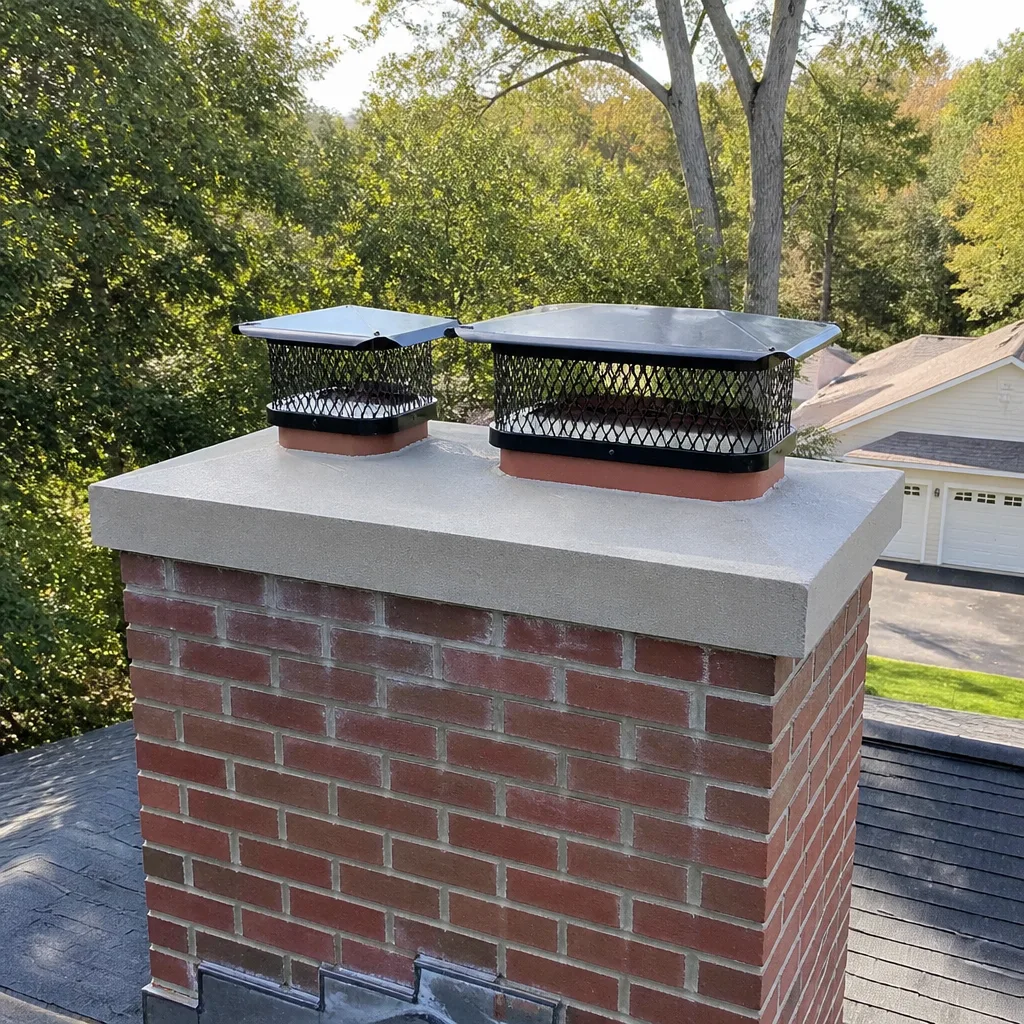 Caps & crowns
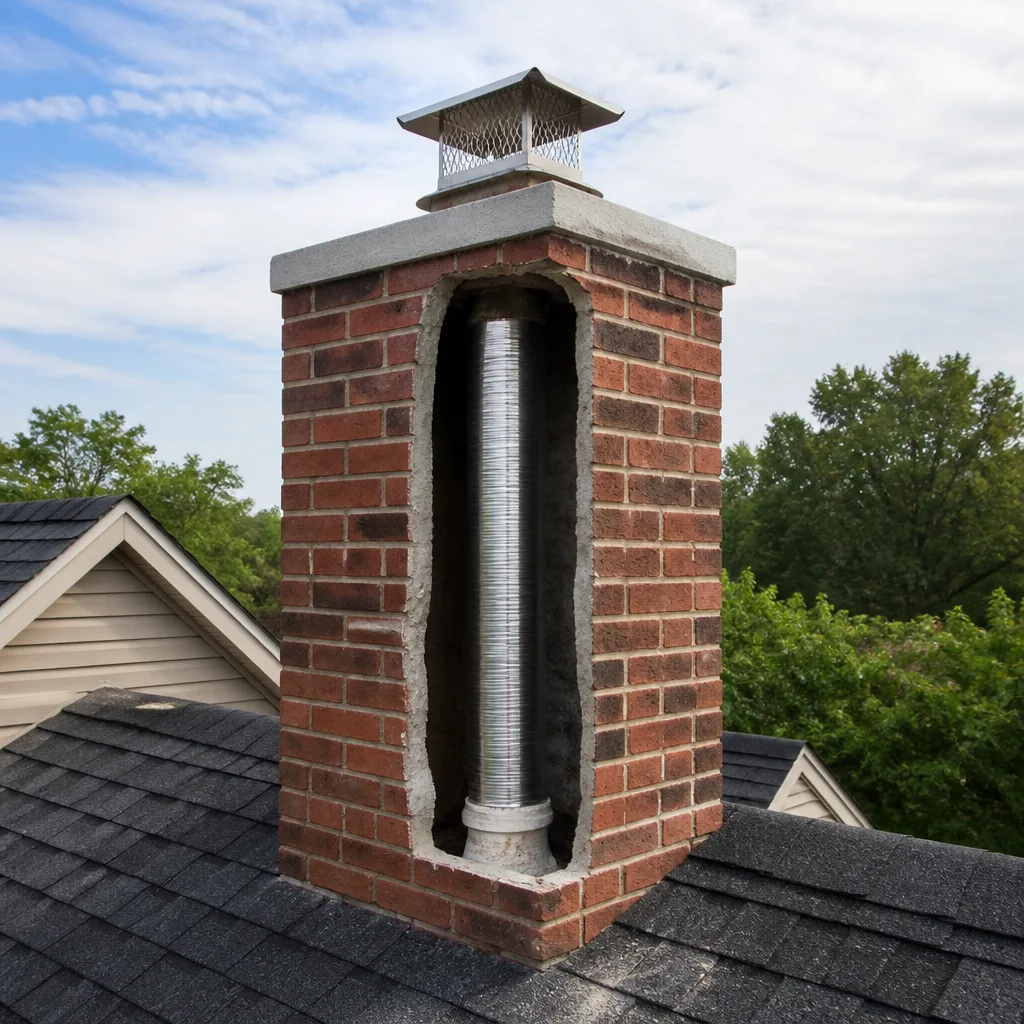 Flue relining
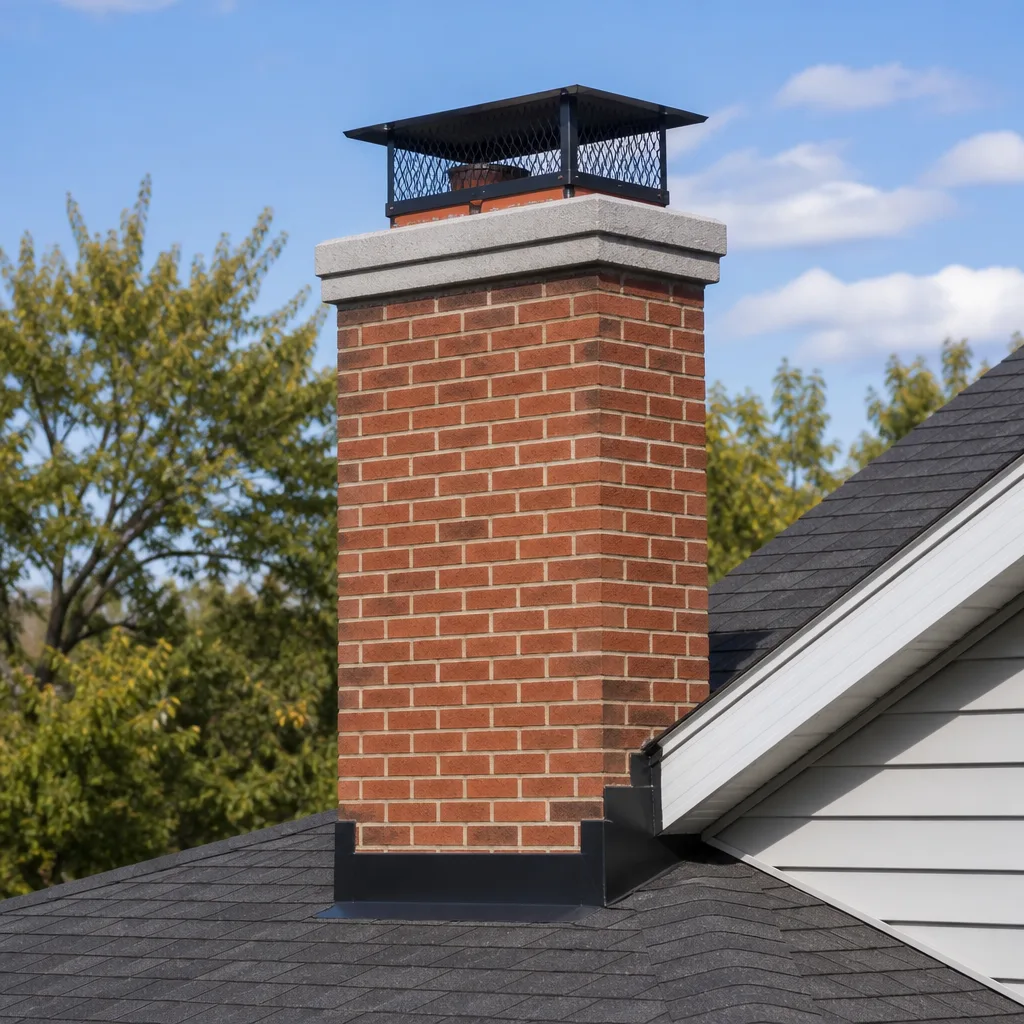 Masonry repair
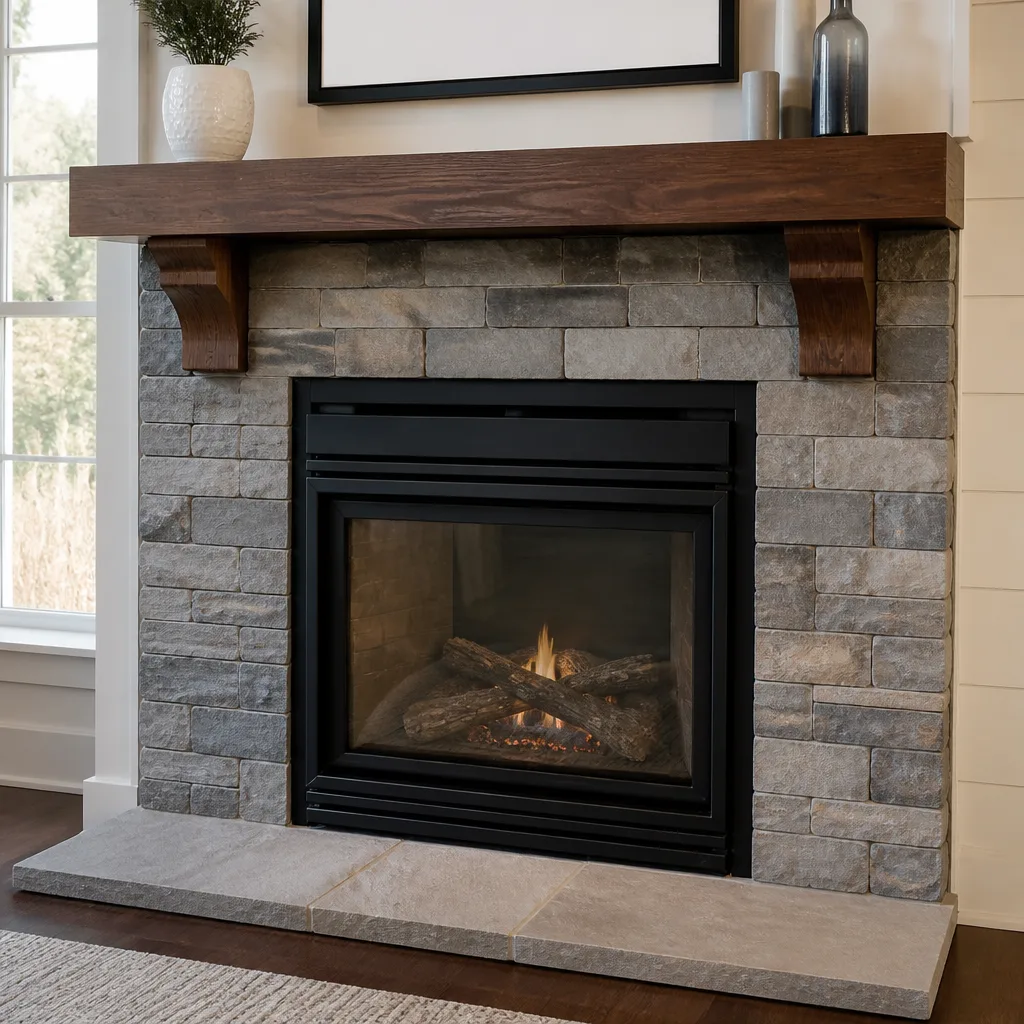 Gas fireplace service
Level 1 sweep and inspection to the NFPA 211 annual standard - flue, crown, cap, and flashing checked and photographed
Chimney sweep logs do not sweep chimneys. They loosen some creosote - which then falls where a brush and vacuum still have to collect it.
Chimney Sweep Troubleshooting: Common Problems and How to Fix Them
A smoky fireplace isn’t a single problem. It’s a symptom with at least six different causes, and the fix for one makes another worse. We know this because we’ve watched homeowners in Near North Side fight the same issues winter after winter, flipping dampers and cracking windows without ever finding the actual source. This guide walks through the real diagnostic process: how to tell a draft failure from a blockage, why summer smoke smells have almost nothing to do with creosote, and which problems you can safely address yourself versus which ones need a certified chimney sweep or mason before they become structural.
Quick Answer
Most chimney problems fall into five categories: draft failure, blockage, creosote buildup, moisture intrusion, and structural wear. Each category has multiple root causes, and the correct fix depends on identifying which one you’re actually dealing with. Start by checking the damper and visible flue obstructions, then move to air pressure, then call a professional if symptoms persist or you see stage-2 or stage-3 creosote. For more detail, see our Complete Chimney Sweep Guide for Near North Side Homeowners.
Styles & brands we work with
Table of Contents
- The Smoky Fireplace: Six Causes, Six Different Fixes
- Why Your Chimney Smells in Summer (It’s Not Creosote)
- Creosote Stages: How to Identify Stage 1, 2, and 3 Visually
- Draft Problems: Diagnosing Negative House Pressure vs. Flue Sizing
- Carbon Monoxide Backdraft: Signs Homeowners Misread as Draft Inefficiency
- Chimney Leaks and Moisture: What Actually Causes Them
- DIY vs. Professional: The Line You Shouldn’t Cross
- Common Mistakes to Avoid
The Smoky Fireplace: Six Causes, Six Different Fixes
When smoke rolls back into the room instead of up the flue, homeowners in Near North Side tend to assume one thing: the chimney is blocked. Sometimes it is. But we’ve disassembled enough smoky fireplaces to know that blockage accounts for maybe a third of what we see. The rest is air pressure, damper position, flue temperature, or sizing. Here’s the full diagnostic list, in the order you should work through it.
1. The damper isn’t fully open
This sounds obvious, but dampers fail partially. A damper that’s rusted, warped, or installed with a misaligned handle may open only 60% of the way, restricting flow enough to spill smoke. Check it visually: open the damper and look up with a flashlight. If the opening looks partially obstructed by the damper plate itself, that’s the problem. Fix: repair or replace the damper. This is a mechanical fix, not a structural one.
2. Cold flue, warm house
Masonry chimneys in cold climates, including Near North Side winters, hold cold air. When you light a fire, that column of cold air sits in the flue and blocks the warm smoke from rising. The smoke finds the path of least resistance, which is the room. The fix is to prime the flue: roll a sheet of newspaper into a torch, light it, and hold it up inside the firebox near the damper opening for 30 seconds before lighting the actual fire. This warms the air column and establishes draft. If the smoke starts drawing after priming, the cold flue was the culprit.
3. Negative house pressure
Modern homes are sealed tight. Exhaust fans, furnaces, water heaters, and even a running clothes dryer pull air out of the house faster than it can leak back in. When the house goes negative, the chimney becomes the intake vent, pulling outside air down the flue and pushing smoke into the room. Test this: open a window an inch near the fireplace and light a small fire. If the smoke draws up correctly with the window open, you have a pressure problem, not a chimney problem. Long-term fixes include a makeup air system or a direct-vent fireplace, not just opening windows.
4. Flue sizing mismatch
A flue that’s too large for the firebox won’t warm up enough to create draft. The smoke cools too quickly and stalls. A flue that’s too small chokes the fire. This is a design problem, common in older Near North Side homes where fireplaces were retrofitted or inserts installed without resizing the liner. The fix is a correctly sized liner, typically stainless steel, matched to the appliance. This is specification work, not a quick adjustment.
5. Actual blockage
Animal nests, leaves, fallen masonry, or a failed chimney cap can block the flue entirely. In Near North Side, squirrels and raccoons are the usual suspects in uncapped flues, and deteriorated brick-and-mortar can drop debris into the flue passage. Look up with a flashlight. If you can’t see daylight or the passage looks obstructed, don’t light a fire. Call a professional for removal and a proper cap installation.
6. Wind-induced downdraft
Certain roof shapes, nearby trees, or multi-story buildings create wind patterns that push air down the chimney. If the problem only happens on windy days, this is likely your issue. Fixes range from a taller flue to a specialty cap, and the right solution depends on the specific roofline. This is another one to leave to someone who’s looked at a lot of Near North Side chimneys.
The point: these six causes require six different fixes. Opening a window won’t help a blocked flue. A new cap won’t fix negative pressure. Diagnosis first, repair second.
If you’re in Near North Side and want a professional to walk the diagnostic tree with you, our Sandstone Chimney Sweep home page covers what we do and how we work.
Why Your Chimney Smells in Summer (It’s Not Creosote)
Every summer, we get calls from Near North Side homeowners who can’t figure out why their living room smells like a campfire in July. The assumption is creosote. It’s usually not. Summer chimney smell is a moisture and air-sealing problem, and the fix has nothing to do with sweeping.
Here’s what actually happens. Creosote is a byproduct of incomplete combustion, and it has a sharp, acrid smell when it’s concentrated. But in summer, the dominant odor source is humid air interacting with the residue inside the flue. Outside air, warm and humid, moves down the chimney when the house is air-conditioned. That humid air picks up the smell of any creosote, soot, or water-damaged masonry it passes over, and delivers it into the room. The chimney is acting like a one-way duct for outside air to enter the house.
There are three contributing factors, and they often stack:
- Missing or damaged chimney cap: Without a cap, rain and humid air enter the flue directly. A cap with a proper screen keeps most moisture out and reduces the draft down the flue.
- Negative pressure: The same sealed-house problem that causes smoky fires also pulls summer air down the chimney. In air-conditioned months, the stack effect reverses: warm air inside the house rises and escapes through upper-level openings, pulling outside air in through lower openings, including the chimney.
- Water-damaged flue liner: If the flue liner has cracks or gaps, moisture has been getting into the masonry itself. That damp masonry, combined with creosote residue, produces a musty smoke smell that sweeping alone won’t eliminate.
The fix depends on which factor is dominant. If the cap is missing, install one. If the damper doesn’t seal tightly when closed, replace it with a top-sealing damper, which closes at the top of the flue and prevents most air exchange. If the liner is compromised, you need a liner repair or replacement. A sweep alone might temporarily reduce the smell by removing creosote, but the moisture pathway remains, and the smell returns within weeks.
In high-humidity Near North Side summers, this issue shows up more often than homeowners expect. It’s one of the more common reasons we do Chimney Repair in Near North Side work specifically around damper and cap replacement.
If you run a dehumidifier in the fireplace room and the smell mostly disappears, you’ve confirmed that moisture is the driver, not creosote buildup. That’s useful diagnostic information when you talk to a sweep.
Creosote Stages: How to Identify Stage 1, 2, and 3 Visually
Creosote isn’t one substance. It’s a spectrum of combustion byproducts, and the stage tells you how urgent the problem is, what removal method is required, and whether you’re dealing with a maintenance issue or a fire hazard. Homeowners can learn to identify the stages visually with a flashlight and a little context.
Stage 1: Flaky soot dust. This is the powdery, dusty residue that looks like black or gray ash coating the flue walls. It’s dry, loose, and easily brushed away with standard sweeping tools. Stage 1 is normal for a regularly used fireplace and represents normal maintenance. A standard annual sweep handles it.
Stage 2: Crunchy tar flakes. This creosote looks like dried coffee grounds or black cornflakes stuck to the flue. It’s harder, denser, and won’t come off with a simple brush. Stage 2 forms when fires burn cooler, often from unseasoned wood, restricted air, or a flue that’s oversized for the firebox. It requires rotary cleaning tools or chemical treatment followed by mechanical removal. Stage 2 is the point where a standard “poke and brush” sweep won’t get it done.
Stage 3: Glazed, shiny tar. This is the dangerous one. Stage 3 creosote looks like black glass, smooth and reflective, fused to the flue surface. It’s hardened to the point that it resists mechanical brushing entirely, and it’s concentrated fuel. A flue with stage 3 buildup is a fire waiting for the right conditions: a hot fire, a spark, and a charged flue. Stage 3 is not a cleaning problem. It requires chemical breakdown, specialized removal systems, or in severe cases, a liner replacement. When we encounter stage 3 in Near North Side chimneys, we’re often recommending a HeatShield resurfacing or a full DuraFlex liner system rather than just another sweep.
How to check: wait until the fireplace is completely cold. Shine a flashlight up the flue from inside the firebox, with the damper open. A mirror can help you see past the damper. If the surface looks powdery or flaky, it’s stage 1 or 2. If it’s glossy and smooth, call a professional before you light another fire.
If you burn mostly softwoods like pine, or if you’ve been burning wood that wasn’t fully seasoned, you’re more likely to see stage 2 or 3. Near North Side winters are cold enough that people sometimes push unseasoned wood into the fire out of necessity, and that’s a direct path to stage 2 and 3 buildup. Our Chimney Sweep in Near North Side page covers what a professional sweep actually involves, including what happens when we find advanced creosote.
Draft Problems: Diagnosing Negative House Pressure vs. Flue Sizing
Two completely different chimney problems produce nearly identical symptoms: smoke that won’t draw, flames that flatten or billow, and a fire that struggles to stay lit. One is a house pressure problem. The other is a flue sizing or height problem. Treating the wrong one wastes money and doesn’t fix anything. Here’s how to tell them apart.
Negative house pressure builds when the house is sealed tight and something inside is exhausting air: a bathroom fan, a range hood, a furnace, a water heater, a dryer. The house becomes a slight vacuum. The chimney, instead of operating as an exhaust, becomes an intake, pulling outside air down into the house. The giveaway: opening a window or door near the fireplace improves the draft immediately. If the smoke starts drawing when you crack a window, the house was the problem, not the chimney.
The fix for negative pressure is not to run the fireplace with a window open all winter. It’s to address the air balance: install a makeup air system, upgrade to a direct-vent gas fireplace that doesn’t rely on house air for combustion, or have an HVAC contractor assess the ventilation. In older Near North Side homes with retrofitted insulation and new windows, negative pressure has become increasingly common. The houses breathe less than they did when they were built.
Flue sizing problems are structural. A flue that’s too large for the firebox means the smoke has too much room, slows down, cools off, and stalls. The fire burns fine but the smoke won’t leave. A flue that’s too small chokes the draw and pushes smoke back into the room. Flue height matters too: a chimney that terminates too close to the roof peak, or too short relative to nearby structures, will draw poorly in certain wind conditions.
The test for sizing: if the draft is consistently weak regardless of window position, outdoor temperature, or wind, and the damper is open, suspect sizing. If the draft is good on some days and bad on others, especially windy days, suspect height or cap configuration. If the draft is bad when exhaust fans are running and fine when they’re off, suspect negative pressure.
Flue sizing requires resizing the liner. This is not a homeowner fix. It involves specifying the correct diameter based on the appliance, the firebox dimensions, and the chimney height. We use DuraFlex liner systems for resizing because they’re available in the full range of diameters and are built to the same specification-grade materials used by certified chimney professionals, not consumer substitutes.
Carbon Monoxide Backdraft: Signs Homeowners Misread as Draft Inefficiency
Carbon monoxide poisoning from fireplaces is rare. That’s not a reason to ignore the signs. It’s a reason to take them seriously when they appear, because the difference between “draft inefficiency” and “backdrafting combustion gases” is the difference between an inconvenience and a medical emergency.
Backdrafting happens when combustion gases from a fireplace, furnace, or water heater flow into the house instead of up the flue. Carbon monoxide is colorless, odorless, and mildly heavier than air. It doesn’t announce itself. The symptoms people notice are the ones they attribute to other causes.
Here are the specific indicators that combustion gases are entering the living space:
- Persistent headaches that fade when you leave the house: This is the classic carbon monoxide exposure pattern. If you notice it, especially during fireplace season, don’t wait for another symptom.
- Soot staining above the fireplace opening: Dark marks on the mantle or the wall above the firebox indicate that smoke and gases are rolling out, not up.
- A pilot light that burns orange or yellow instead of blue on a gas fireplace or nearby gas appliance: this suggests incomplete combustion and potential carbon monoxide production.
- Condensation on windows near the fireplace while the fire is burning: excessive moisture in the combustion gases indicates incomplete combustion and backdrafting.
- Odors from the furnace or water heater that appear when the fireplace is running: this means the fireplace is pulling air from those flues, reversing their draft.
- Flames that flicker downward or lean into the room rather than up the flue: a sign that combustion air is being pulled from the wrong direction.
The answer to any of these is the same: stop using the fireplace and get the system inspected. Carbon monoxide detectors are essential and required in many homes, but a detector that never goes off is not proof of safety. Detectors have thresholds and response times, and low-level exposure over hours can produce symptoms before an alarm triggers.
Homes in Near North Side with a fireplace and a naturally aspirated furnace or water heater sharing the same air space are the most common setup for backdrafting. The fireplace competes with the furnace for combustion air, and when the house is sealed tight, the loser is the one with the weaker draft. Our advice is consistent: if you’re seeing combustion symptoms, stop burning, ventilate, and call a professional who can measure draft and combustion air properly.
Chimney Leaks and Moisture: What Actually Causes Them
Water is the single most destructive force acting on a masonry chimney. It freezes, expands, cracks mortar joints, spalls brick faces, and rusts dampers and fireboxes. Near North Side sees real freeze-thaw cycling every winter, which means moisture problems compound faster here than in warmer climates.
The challenge with chimney leaks is that water rarely enters through the obvious path. Here are the seven ways water gets into a chimney, in rough order of frequency:
- Failed or missing chimney cap: Without a cap, rain falls directly down the flue. This is the most common entry point and the easiest to fix.
- Damaged crown: The crown is the masonry or concrete cap at the top of the chimney that sheds water away from the flue. Cracks in the crown let water into the chimney structure itself.
- Deteriorated mortar joints: Mortar wears before brick. When joints erode, water seeps into the wall system and freezes, accelerating further damage.
- Spalling brick: Bricks that have absorbed water and frozen will shed their faces. A spalling brick is a symptom of long-term moisture exposure, and once it starts, the deterioration accelerates.
- Failed flashing: The metal flashing where the chimney meets the roofline is a common leak point, especially on older Near North Side homes where flashing was installed without proper step flashing or counterflashing.
- Condensation inside the flue: If the flue liner is oversized for the appliance, the flue gases cool and condense inside the chimney. That acidic condensate eats mortar and liner from the inside.
- Absorptive brick: Some brick types are more porous than others. Without a water repellent treatment, they absorb rain like a sponge and wick water through the wall.
The fix depends on the entry point. A new cap is a straightforward fix. Crown repair or replacement is more involved but still contained. Flashing work requires someone comfortable on the roofline. Repointing mortar and applying a vapor-permeable water repellent are standard masonry maintenance. A damaged flue liner may require a resurfacing treatment or a full liner replacement.
What you should not do: seal the brick with paint or a non-permeable sealer. Masonry needs to breathe. Trapping moisture inside the wall system makes freeze-thaw damage worse, not better.
If you’re seeing water stains on the ceiling near the chimney, or efflorescence (white mineral deposits) on the brick face below the roofline, you’re seeing the evidence of an active moisture problem. It won’t dry out on its own.
DIY vs. Professional: The Line You Shouldn’t Cross
Some chimney maintenance is appropriate for a careful homeowner. Other work is not, and the distinction isn’t about skill level. It’s about the consequences of getting it wrong.
What you can do yourself:
- Visual inspections: Look up the flue with a flashlight, check the firebox for cracks, inspect the cap from the ground with binoculars, and examine the roofline flashing for rust or separation. Knowing what you’re looking at makes you a better customer.
- Damper operation: Open and close the damper, check for smooth movement, and verify that it seals when closed.
- Glass door cleaning: Soap and water, razor blade for stubborn residue. This is straightforward and safe.
- Testing for draft problems: The newspaper torch test and the open-window test are diagnostic, not repair work.
- Creosote log use: Chemical creosote treatments can help break down stage 1 and some stage 2 buildup when used as directed between professional cleanings. They don’t replace a sweep.
What you should leave to a professional:
- Any work inside the flue: Sweeping, inspection beyond the visible opening, and creosote removal all require brushes, rods, and often rotary equipment. Doing this without proper technique can damage the liner or push debris down into the house.
- Stage 2 or stage 3 creosote removal: Hardened creosote requires specialized tools and chemical treatments. A homeowner brush won’t touch it.
- Liner inspection and replacement: This requires specialized camera equipment and specification-grade materials. A liner repair done wrong creates a fire and carbon monoxide risk.
- Crown, flashing, and masonry work: Roofline work is high-angle work, and masonry work on a chimney affects structural integrity and water protection.
- Any carbon monoxide or backdrafting concern: This is not a diagnostic exercise you do yourself.
High-tension, high-risk chimney work, especially anything involving liner removal or structural masonry repair, is not a DIY project. One wrong cut in the wrong place can compromise the entire flue system. If the work feels uncertain, it’s the kind of thing a trained professional should look at.
What we see in Near North Side is consistent: homeowners who attempt their own repairs usually spend more in the long run than if they’d called someone the first time. The second repair costs more because the first repair has to be undone. We also offer Dryer Vent Cleaning in Near North Side for homeowners who want to address two of the leading fire hazards in one service visit. Your flue and your dryer vent share the same category of risk: both accumulate flammable residue, and both are out of sight.
Common Mistakes to Avoid
- Assuming a smoky fireplace means a blocked chimney. Most of the time, it’s a draft, pressure, or damper issue. Jumping to blockage means you miss the actual problem and pay for a fix that doesn’t work.
- Burning unseasoned wood to save money. Wet wood burns cooler, produces more creosote, and accelerates stage 2 and 3 buildup. The money saved on wood gets spent on rotary cleaning and liner work.
- Painting or sealing brick with non-permeable products. Trapping moisture inside masonry accelerates freeze-thaw damage in Near North Side winters. Use vapor-permeable treatments or leave the brick alone.
- Ignoring summer chimney smells. The smell is the symptom. The cause is moisture and air movement. Waiting until winter means the moisture problem has had another full season to work on the masonry.
- Running the fireplace with a window open instead of addressing the pressure problem. It’s a workaround, not a fix, and it costs you heat all winter. The pressure issue affects your whole house, not just the fireplace.
- Thinking a carbon monoxide detector makes backdrafting safe. Detectors are a last line of defense, not a solution. Low-level exposure can produce symptoms without triggering an alarm.
- Using a chimney sweep service that only sweeps. A sweep that finds a problem and can’t fix it means you’re coordinating two companies and paying for two visits. The team that inspects should be the team that repairs.
When to Call a Professional
Call a professional when you see stage 2 or stage 3 creosote, when symptoms of carbon monoxide exposure appear, when water is entering the house through the chimney, when the damper is seized or deteriorating, when masonry is spalling or mortar joints are eroding, or when you’ve tried the diagnostic tests and the draft problem persists. Some symptoms are signals of deeper problems that only a trained sweep with the right equipment can identify. If you’re in Near North Side and want a professional diagnosis, Sandstone Chimney Sweep offers free estimates. Call (833) 589-7835.
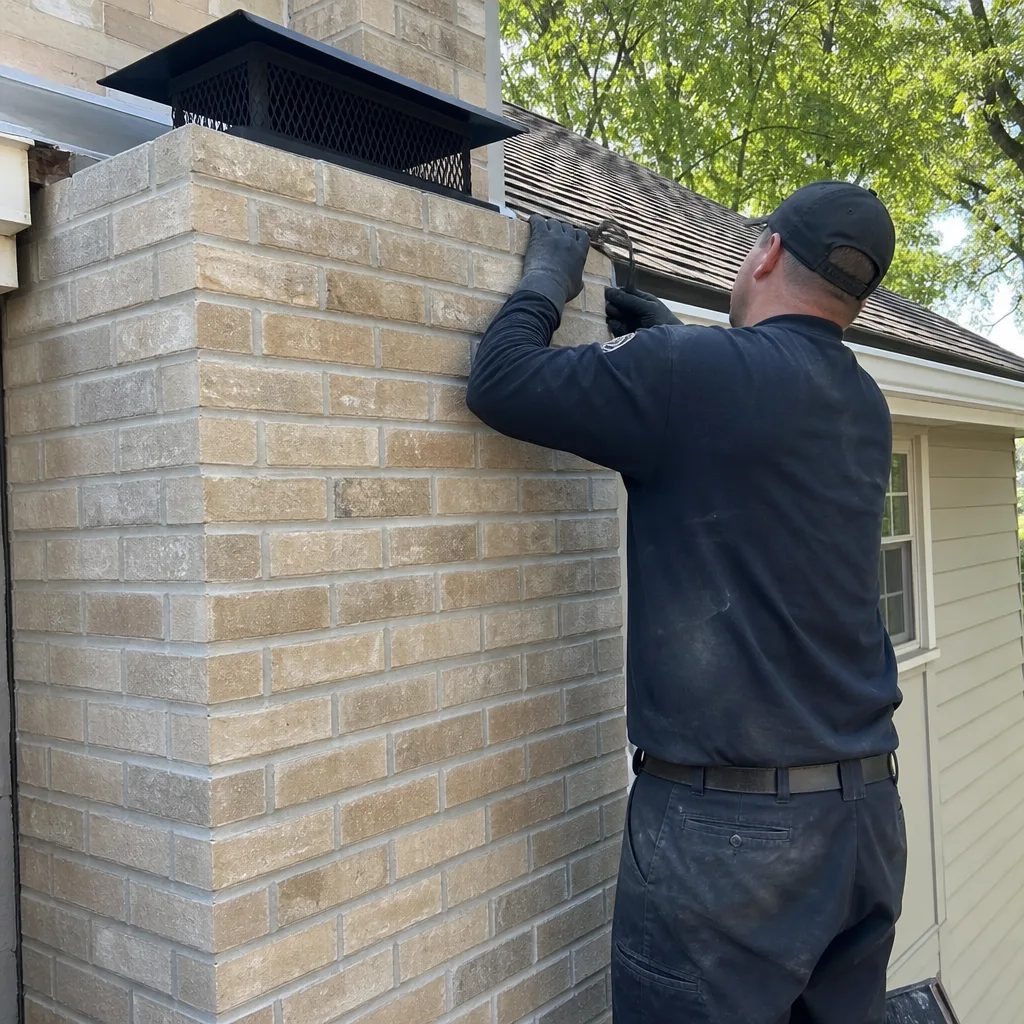
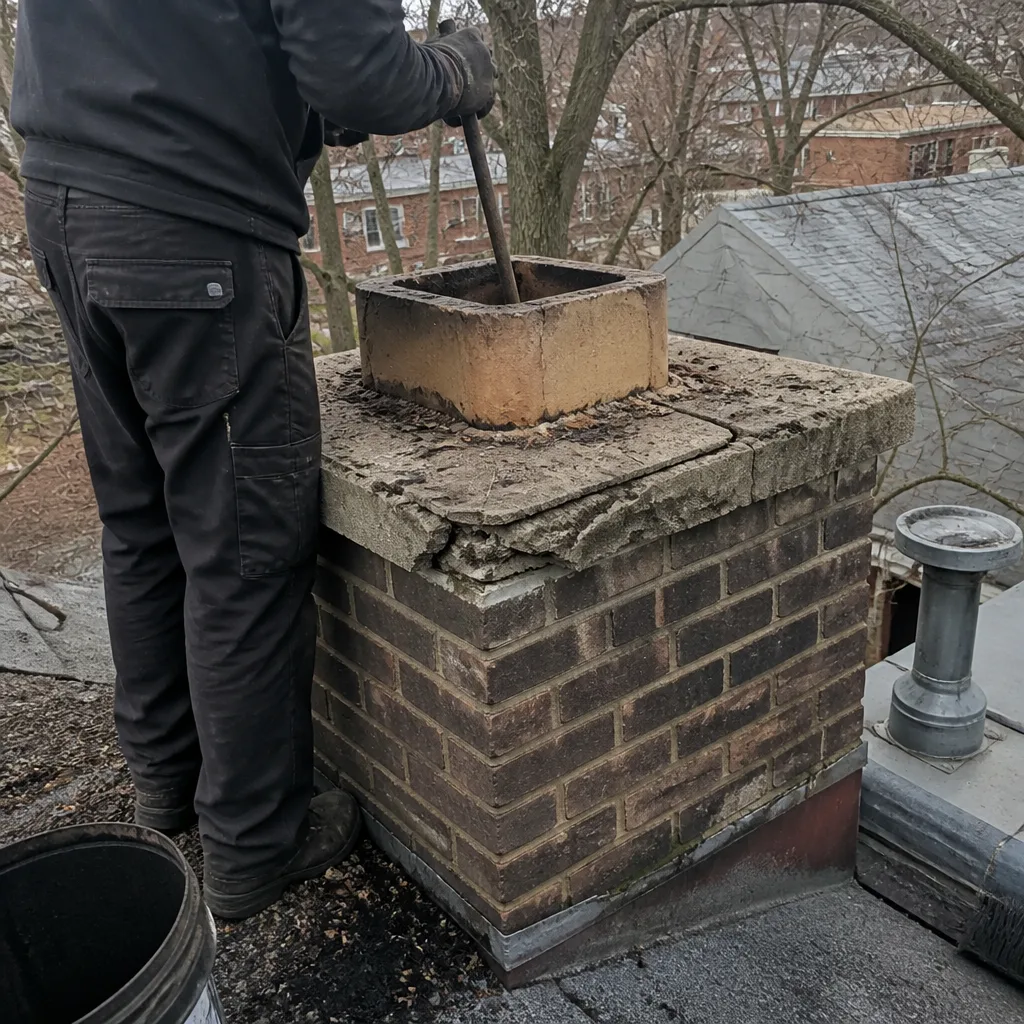
See the difference
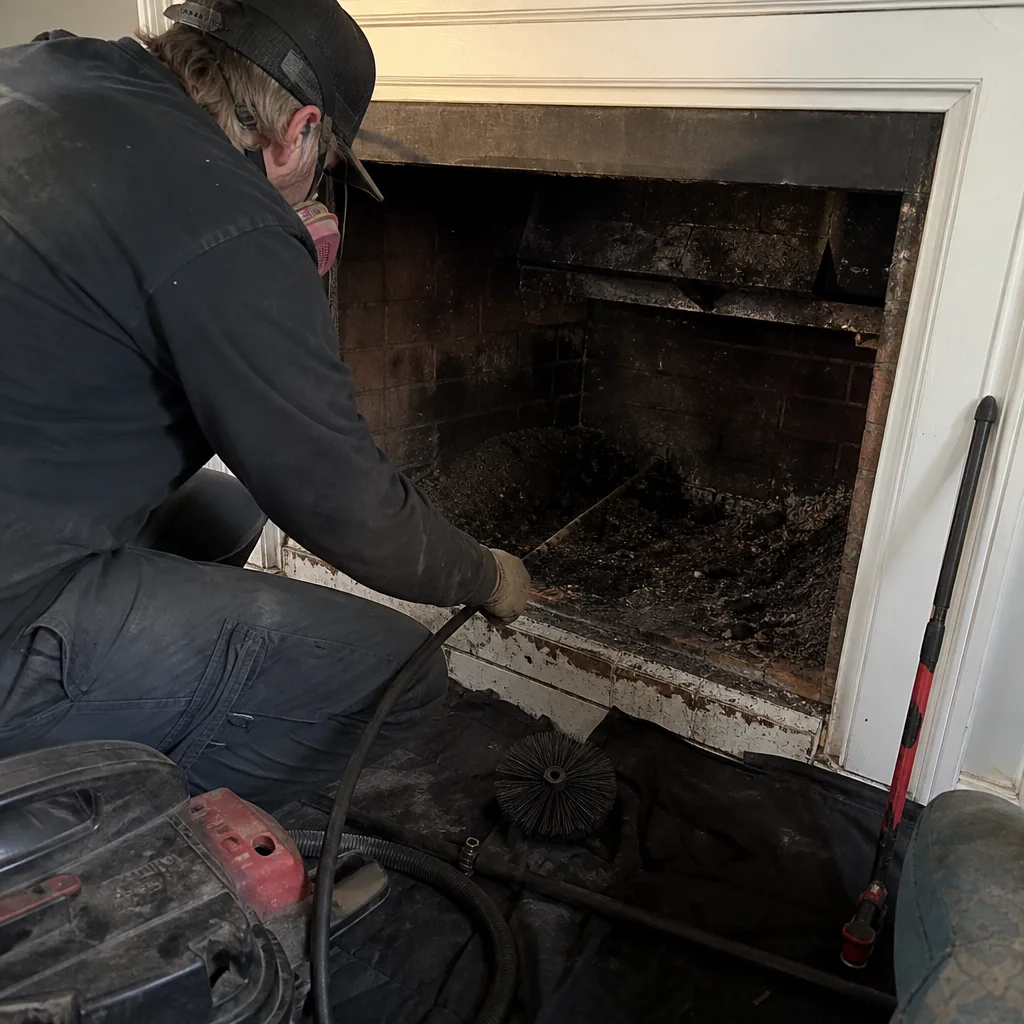 Before
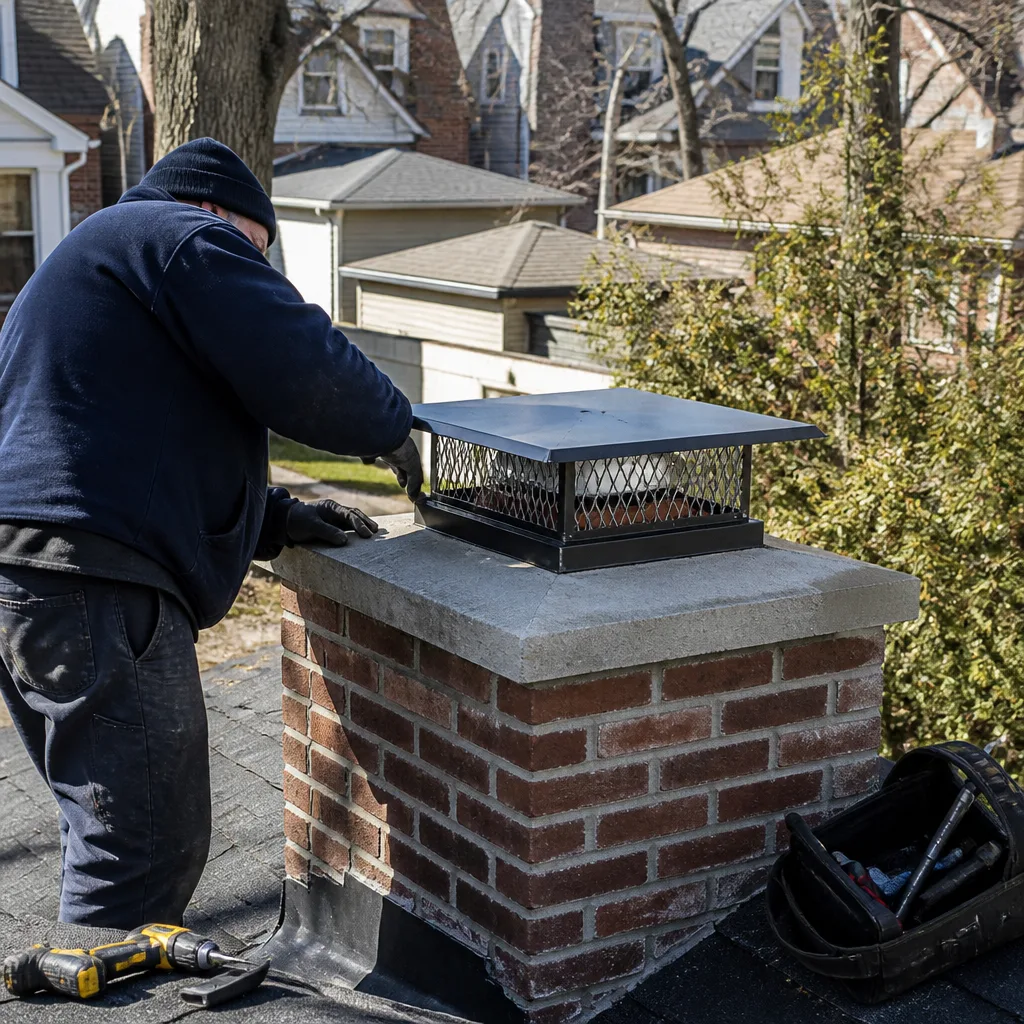 After
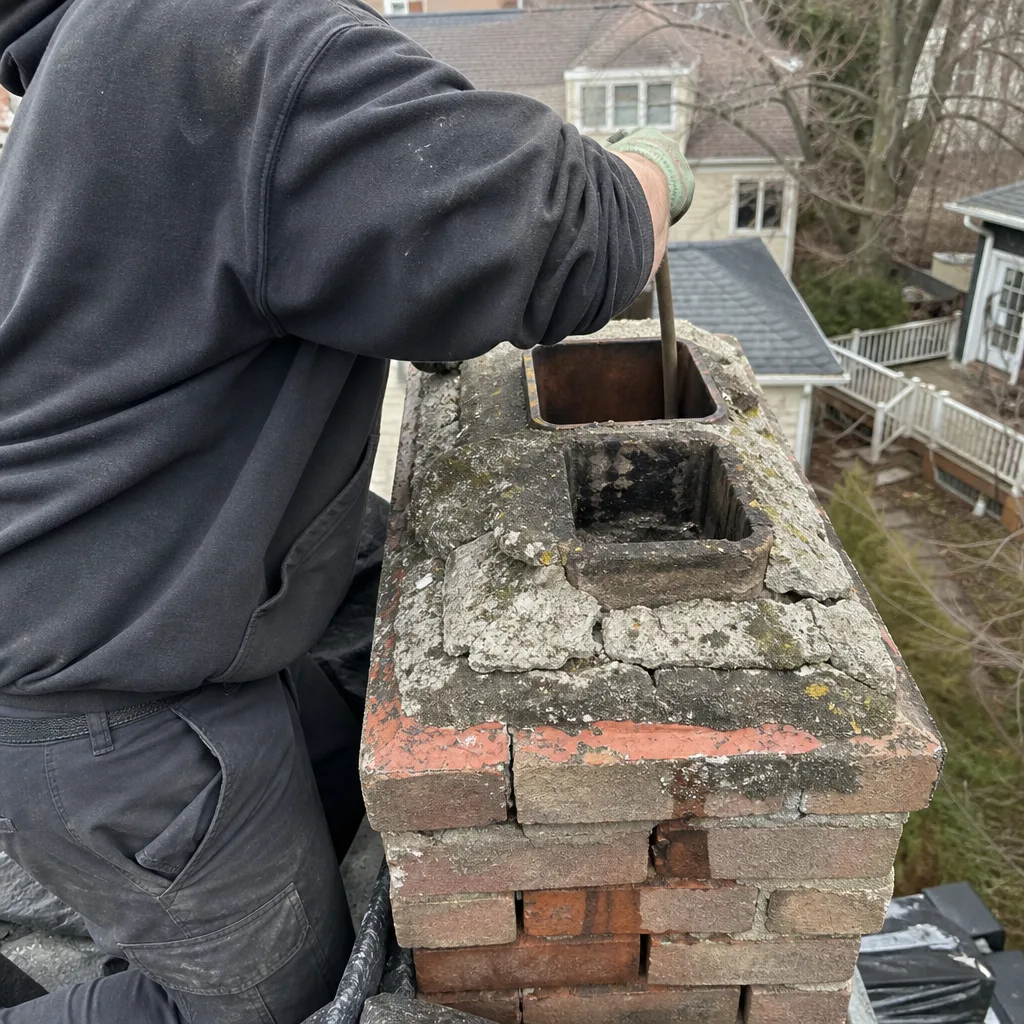 Before
 After
 Before
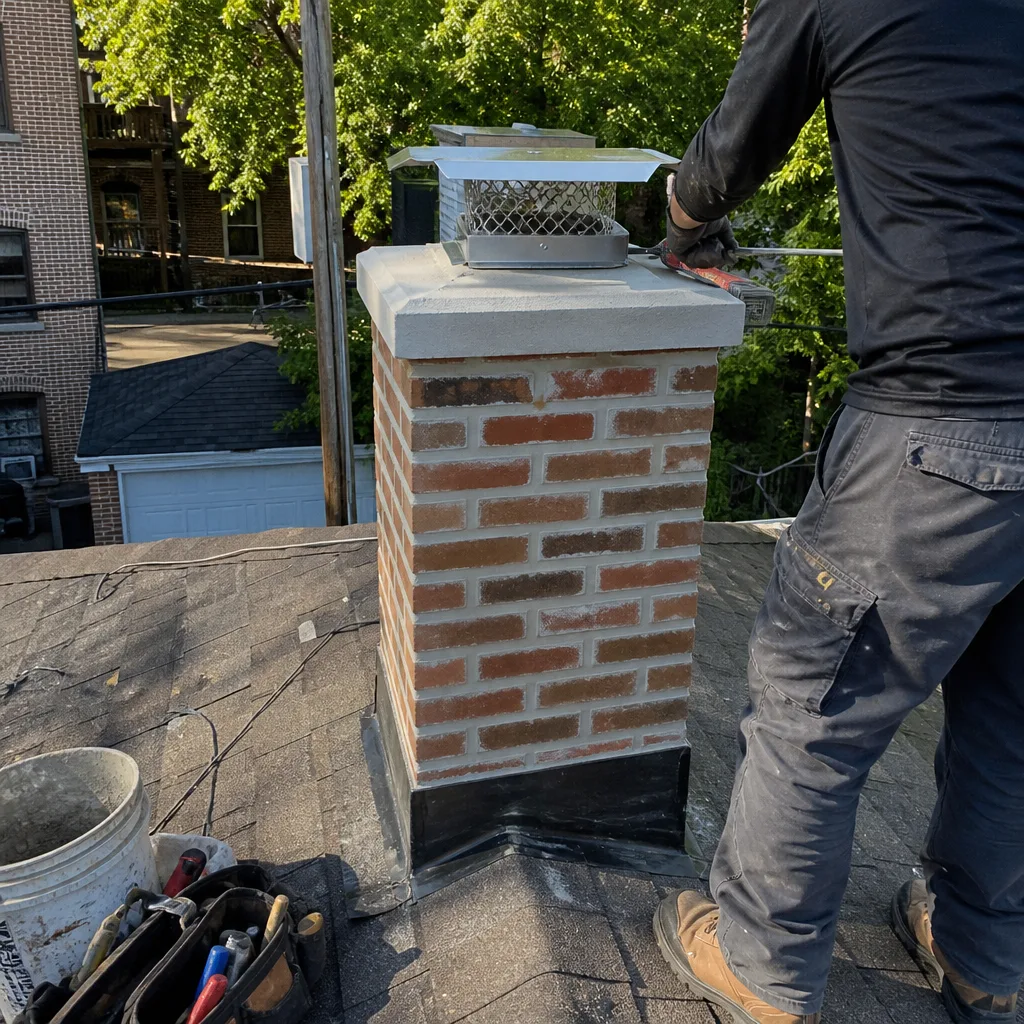 After
Frequently Asked Questions
A chimney should be swept annually by the right chimney cleaning brand, or after every cord of wood burned, whichever comes first. Homes in Near North Side that burn regularly through the winter typically need one professional cleaning per year, with a visual inspection at the start of each burning season.
A standard chimney sweep in Near North Side typically runs between $180 and $350 depending on the flue condition, accessibility, and whether creosote has reached stage 2 or 3. For more guides & resources, visit our blog. Advanced creosote removal, liner inspection, and repairs are additional. Call (833) 589-7835 for an exact quote. Estimates are free.
Yes. Even occasional use produces creosote, and an uncapped or rarely used chimney can accumulate animal nests, leaves, and debris that block the flue. A blockage you don’t know about is a fire hazard whether you burn once a season or every weekend.
Creosote builds up in stages, and at stage 3 it becomes a hardened, glazed fuel coating inside the flue. A hot fire or stray spark can ignite it, producing a chimney fire that reaches temperatures high enough to crack the flue liner and spread to the house structure. Skipping cleaning also means you miss cracks, blockages, and water damage before they become structural problems.
Rain increases humidity inside the flue, and that moisture interacts with residue inside the chimney, releasing the smoke smell into your home. Rain can also enter through a damaged cap or crown, soaking the masonry and making the smell worse. The fix is usually a new cap, a top-sealing damper, or a liner repair, not an additional sweep.
You can, but you shouldn’t. Hardware store brushes work on loose stage 1 creosote but won’t touch stage 2 or 3. More importantly, you can’t inspect the liner, identify cracks, or verify that the flue is safe to use. A professional sweep includes inspection as part of the service, and that’s the part that prevents fires and carbon monoxide exposure.
The Bottom Line
Chimney problems are diagnostic puzzles, not generic failures. A smoky fireplace, a summer smell, a stubborn draft: each has multiple possible causes, and the fix that works for one makes another worse. The homeowner’s job is to gather good information: check the damper, prime the flue, test for negative pressure, and look for visual evidence of creosote stage or water entry. The professional’s job is to apply the right fix. What separates a maintenance chimney from a structural problem is early diagnosis and correct materials. Your flue is a system, not just a pipe, and it deserves the same care you’d give any other system in your home. If you’re in Near North Side, Sandstone Chimney Sweep is here to help, from sweep to repair to dryer vent cleaning, all under one roof.
Written by the team at Sandstone Chimney Sweep, serving Near North Side since 2017.